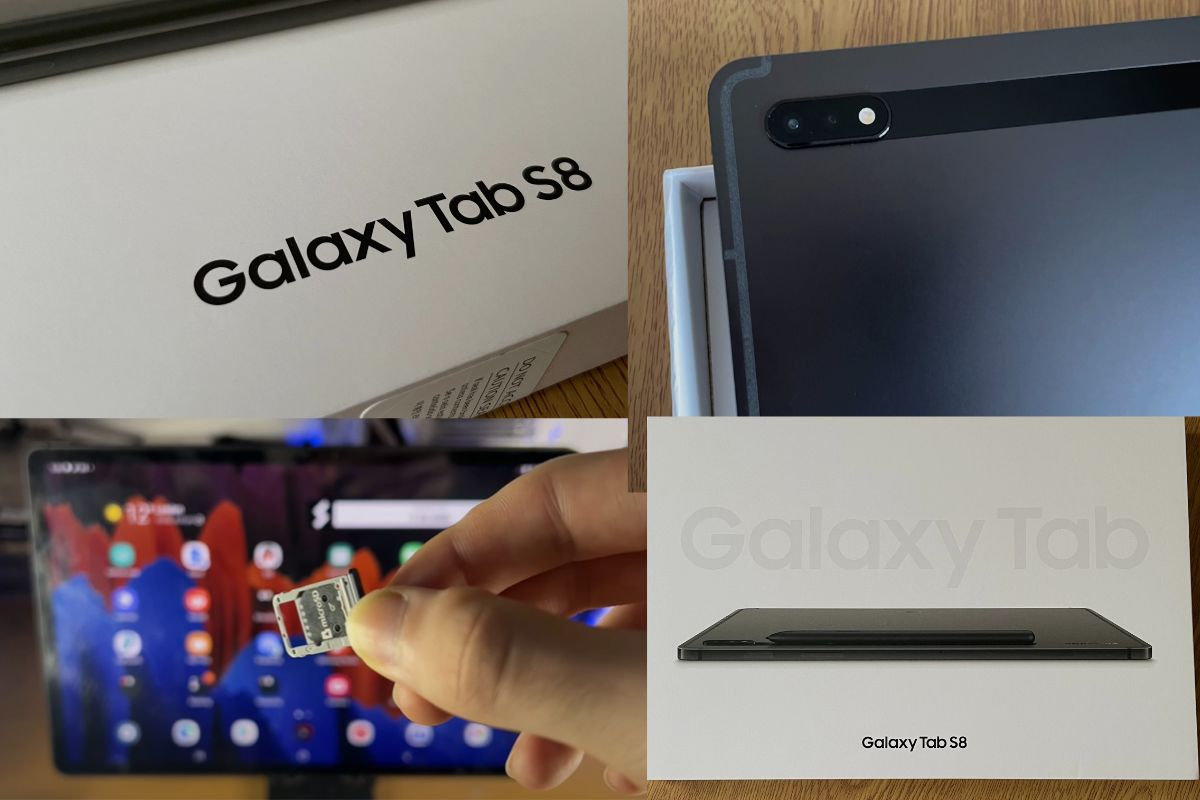
Inserting a SIM card into a Samsung Galaxy Tab S8 tablet device is a simple process that anyone can do without the need for professional assistance.
Having a SIM card in your tablet device is a quick and easy process that will greatly enhance the functionality of your device in terms of internet accessibility.
In this article, I will be explaining the steps to be taken to insert a SIM card into your Galaxy Tab S8 tablet.
Inserting a SIM card into your tablet provides you with a variety of benefits, including mobile data connectivity, the ability to make and receive phone calls and texts, GPS navigation, and access to emergency services.
With a SIM card in your tablet, you can stay connected with friends, family, and colleagues and have the freedom to browse the internet, stream videos, and access a wide range of apps wherever you go.
Also, in case of an emergency, having a SIM card in your tablet ensures that you can easily and quickly reach out to emergency services for assistance.
The Samsung Galaxy Tab S8 supports either a Nano-SIM card or an eSIM. If you are using an eSIM, you won’t need to physically insert a card into the tablet. Instead, the eSIM information is stored digitally in the tablet’s firmware, and you can activate it through your Mobile network provider’s website or mobile app.
Related posts to read: Samsung Galaxy Tab S8 Review.

How to insert SIM card in Samsung Galaxy Tab S8 Tablet
To insert a SIM card into your Samsung Galaxy Tab S8 tablet, follow these steps:
- Locate the SIM card tray: The SIM card tray is located on the top right side of the tablet (when looking at the tablet with the camera facing you). Look for a small pinhole or a slot with an outline of the SIM card.
- Power off the tablet: Before inserting or removing the SIM card, make sure the tablet is powered off to avoid potential data loss or damage.
- Prepare the SIM eject tool: Your tablet should come with a SIM eject tool, which is a small metal pin used to open the SIM card tray. If you don’t have one, you can use a small paper clip or a needle.
- Eject the SIM card tray: Insert the SIM eject tool or your alternative into the small hole next to the SIM card tray. Apply gentle pressure, and the tray should pop out slightly. Carefully pull the tray out of the tablet.
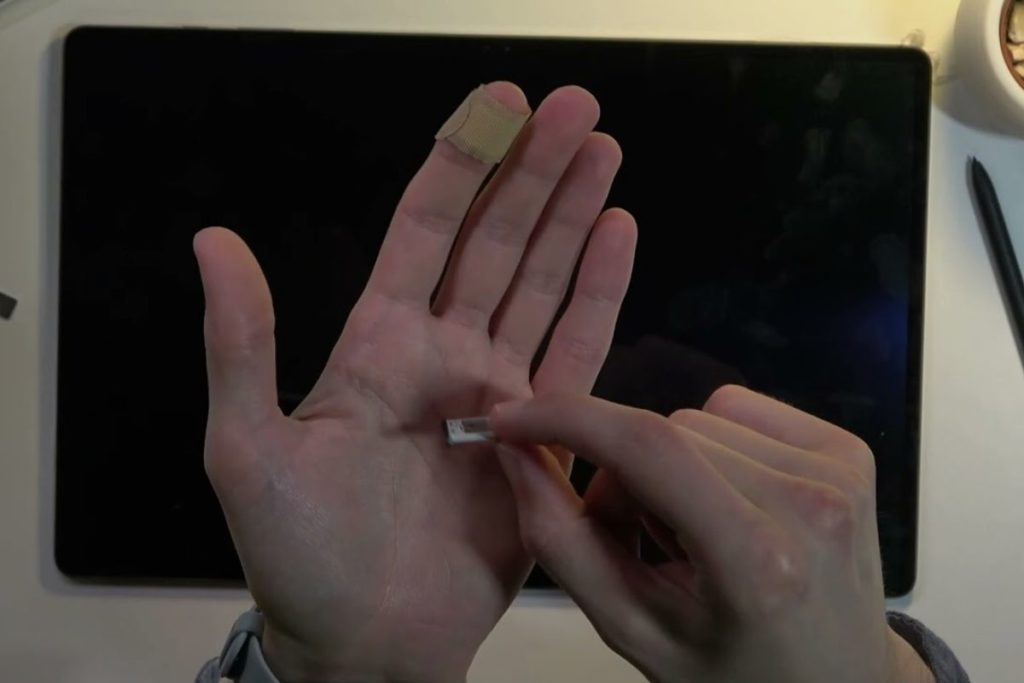
- Place the SIM card on the tray: The SIM card slot is behind the memory card slot. Orient the SIM card correctly by aligning the notched corner of the SIM card with the corresponding notch on the tray. The metal contacts on the SIM card should be facing down.
- Insert the SIM card tray back into the tablet: Carefully slide the SIM card tray back into the tablet, ensuring that it is correctly aligned and flush with the device’s side. Gently push the tray until it clicks into place.
- Power on the tablet: Press and hold the power button to turn on the tablet. The device should automatically recognize the SIM card.
- Check the network connection: Once the tablet is powered on, check for network signal strength in the status bar. If you see bars and your carrier’s name, your SIM card has been successfully installed.
- Configure the tablet: Once the tablet has recognized the SIM card, you may need to configure the tablet to use it. This may include entering the network’s settings and restarting the device to start using it with the new SIM card.
If you don’t see a network connection after installing the SIM card or receive an error message, double-check the SIM card’s orientation and make sure it is seated correctly in the tray.
Note: If you are having trouble inserting your SIM card, make sure to check the orientation of the card and the tray to ensure they are properly aligned.
If you do not insert your SIM card correctly, the tablet will not detect it.
In addition to inserting a SIM card, the use of a microSD card is a great way to expand the storage capacity of your Samsung Galaxy Tab S8. With a microSD card inserted, you can store more apps, photos, videos, and other files on your device. However, it is worth noting that some apps may not be able to be moved to the microSD card and that the performance of the card may be slightly slower than the tablet’s internal storage.
To insert your microSD card into the Samsung Galaxy Tab S8, follow these few steps:
- Turn off the tablet and locate the microSD card slot. It is usually located on the side of the tablet.
- Gently push the microSD card into the slot until it clicks into place
- Turn on the device and go to the device’s settings
- Go to the storage sections and select the option to format the microSD as internal storage. Follow the on-screen instructions to format the card.
Note: Make sure to properly eject the microSD card properly before removing it to avoid losing any data.
Conclusion
In conclusion, to fully experience the benefits of this versatile tablet, inserting a SIM card is recommended, as it allows for mobile data connectivity, phone calls, texts, GPS navigation, and emergency services.
Inserting a SIM card is an easy process that provides a range of benefits, and expanding storage with a microSD card is also simple. By following the steps outlined in this article, you can quickly and easily enhance the functionality of your Samsung Galaxy Tab S8 tablet.
Useful Links:
Related Posts to Read:
- Samsung Galaxy Tab S8 vs Galaxy Tab A8: which is better?
- Samsung Galaxy Tab S8 Vs Galaxy Tab S7: Which is Better?
- Samsung Galaxy Tab S8 vs S7 FE: Which is Better?
- Samsung Galaxy Tab S8 Vs Apple iPad (2022): Which is Better?
- Samsung Galaxy Tab S8 Vs Apple iPad Pro (2022): Which is The Best?
- Is the Samsung Galaxy Tab S8 Tablet Good for Drawing?
- How to Split Screen on A Samsung Galaxy Tab S8 Tablet
- Is the Samsung Galaxy Tab S8 Good for Gaming?
- Is the Samsung Galaxy Tab S8 Good for Note-Taking?
- Is the Samsung Galaxy Tab S8 11-inch 128 GB Tablet Worth Buying?
- Is The Samsung Galaxy Tab S8 Waterproof?
- How To Use The S Pen On A Samsung Galaxy Tab S8.
- Samsung Galaxy Tab S8 Tablet Performance and Battery Life.
- Can Samsung Galaxy Tab S8 Replace A Laptop?
References:


