You’re in the right place if you own a Samsung Galaxy Tab S8 and want to maximise its capabilities. I’ll walk you through the process of using Magisk to root your Samsung Galaxy Tab S8 tablet in this post. By rooting your device, you get access to a plethora of new customization and performance improvement options. It gives you the ability to customise the software to your preferences and utilise your phone’s full capabilities.
In this tutorial blog post, I’ll provide all the details you need to get started, whether you are an experienced rooter or a beginner. So, let’s get started and maximise the capabilities of your Samsung Galaxy Tab S8 tablet.
- What is Rooting?
- How to Root the Samsung Galaxy Tab S8
- Step 1; Get the Bootloader Unlock on your Samsung Galaxy Tab S8
- Step 2. Install the TWRP Recovery on the Samsung Galaxy Tab S8
- Step 3: Root Samsung Galaxy Tab S8 with Magisk and SuperSu
- Magisk Manager installation;
- SuperSu Installation;
- Step 4: Check your Root on the Samsung Galaxy Tab S8 via a Root Checker
- Rooting Samsung Galaxy Tab S8 without TWRP
- Unlock Developer Options on Samsung Galaxy Tab S8
- Enable is the OEM unlocking option on Samsung Galaxy Tab S8
- Unlocking the Bootloader
- Verification of Bootloader Unlock
- Downloading Stock Firmware for Samsung Galaxy Tab S8
- Download 7zip and LZ4 Tools
- Preparing Patched Boot Image file
- Converting boot.img.lz4 to boot.img File
- Patching the boot.img Firmware File with Magisk
- Converting .IMG File to .TAR for ODIN Flash Tool
- Flashing Magisk_Patched.tar with Odin Flash Tool
- Conclusion
- Image Gallery – How to Root a Samsung Galaxy Tab S8 Tablet
- Useful Links:
Related posts to read: Samsung Galaxy Tab S8 Review.
What is Rooting?
The simplest definition of rooting is the ability to write to the system partition’s root. As a result, after your device has been rooted, you can do many things that weren’t previously possible for you to accomplish on your phone or tablet. Additionally, rooting your phone gives you more freedom and access to its features.
Once you’ve rooted your phone, you can remove all of those annoying pre- or carrier-installed apps that you don’t want. Using root-only apps that are only compatible with rooted phones is another thing you can do with your phone once it has been rooted, giving you even more power over it than before.
A friend of mine observed that there are many excellent root-only apps for Android devices with many capabilities that eventually make their way into future releases of the Android OS. To take screenshots, for instance, you used to need to root your phone, but all Android phones now come with that feature preinstalled.
Back then, you also had to root your phone to connect it to other Android devices for tethering, but today, all Android smartphones come with this feature by default.
Therefore, you should root your phone if you want to take advantage of the newest features and customization possibilities while also getting more out of your Android devices. Rooting your phone is the best option if you wish to back up and restore app data, add themes to Android, modify your boot-up animation, or completely replace your ROM.
How to Root the Samsung Galaxy Tab S8
Rooting your Samsung Galaxy Tab S8 is not a simple process, and you have to follow this step-by-step guide to make sure you get the rooting process right. Also, this rooting process is specifically designed to work on your Samsung Galaxy Tab S8. If you attempt to do it on another phone, it may get stuck in a boot loop or it may become bricked.
Step 1; Get the Bootloader Unlock on your Samsung Galaxy Tab S8
- The first thing you should do before rooting your Samsung Galaxy Tab S8 is checked for and install the most recent software update. This is done by going to “Settings,” then “About,” and finally checking for software updates.
- Following that, you should enable developer mode on your phone. You can do this by going to “settings” on your phone, then “about the phone,” “baseband and kernel,” “build number,” and then clicking on “build number” about 7 or 8 times. Your developer mode will be enabled once that process is completed.
- Once developer mode is enabled, you must return to your settings and enable USB debugging and OEM unlocks.
- Once that process is complete, you will need to use a PC or Laptop to continue the process; the first thing you will need to do is install the Oppo USB driver onto your computer.
- Then, ensure that ADB Fastboot drivers are installed on your computer.
- Then, download the SDK Platform-tools and install them on your PC or laptop.
- After that, open the SDK platform tools file and navigate to the Command prompt.
- After that, click the shift + right mouse button on a space in your computer’s SDK platform-tools folder. Then, in the location where the file is stored, type CMD.
- After that, connect your phone to the computer using a USB cable in Fastboot mode. Then, turn off your phone and simultaneously press the power and volume up buttons on the phone.
Once that is done, you will have to type these commands on your PC or laptop exactly as you see them here;
1. Command: – ADB devices
2. Command: – ADB reboot bootloader
3. Command: – fastboot devices
4. Command: – OEM unlock
5. Command: – fastboot reboot
Once that is done, your bootloader on the Samsung Galaxy Tab S8 should be unlocked.
Step 2. Install the TWRP Recovery on the Samsung Galaxy Tab S8
- You must first install the TWRP Recovery filer for the Samsung Galaxy Tab S8 on your computer or laptop.
- Then, copy the TWRP Recovery file to the SDK Platform-tools directory.
- Then, rename the TWRP Recovery file to twrp.img.
- After that, you will enter the Command prompt on your computer.
You must hold down the shift key and right-click on an empty space in your computer’s SDK Platform-Tools folder. Then, turn off your phone and simultaneously press the volume up and power buttons to boot it into fastboot mode.
Following that, use a USB cable to connect your phone to your computer, then type this command into your computer;
1. Command : – ADB devices
2. Command: – fastboot reboot bootloader
3. Command: – fastboot flash twrp.in=mg
4. Command: – fastboot reboot
After this, the TWRP recovery mode will be installed on your phone.
Step 3: Root Samsung Galaxy Tab S8 with Magisk and SuperSu
Magisk Manager installation;
- You must first download the Magisk Manager File to your phone.
- Make sure that TWRP Recovery mode is correctly installed on your phone before moving the Magisk Manager file to internal storage.
- Your Samsung Galaxy Tab S8 must then be turned off so that you can run a fastboot on it. Your phone should then enter TWRP Recovery mode after that.
- Next, select “Install.”
- You must choose the Magisk Manager file and swipe to confirm flash after clicking install.
- You will click “reboot system” after the flash.
- You should have total root access on your Samsung Galaxy Tab S8, but you’re not yet safe. The second stage of rooting is installing SuperSu, which you still need to do.
SuperSu Installation;
- Initial step: download SuperSu to your phone.
- the SuperSu file to your internal storage after that.
- After that, turn off your phone and launch fastboot; your device should then enter TWRP Recovery Mode.
- After that is finished, click Install.
- Slide swipe to confirm flash after the SuperSu file has been installed.
- Click reboot the system after flashing your phone.
- Your phone should restart completely after it has already done so.
Step 4: Check your Root on the Samsung Galaxy Tab S8 via a Root Checker
- Make sure the rooting of your phone was successful as the final step by downloading a root checker software from the Play Store and installing it.
- You must open the programme after installation and select the “verify root” option.
- After that, allow the programme access to your files.
- You need to then get a notice confirming that the programme has been successfully installed on the device after completing that.
- Your Samsung Galaxy Tab S8 has now been successfully rooted after that is complete.
You can now take advantage of the advantages of rooting your Samsung Galaxy Tab S8, as you have successfully installed Magisk using TWRP recovery. Now that modified ROMs and custom mods are available, you can take advantage of all the features offered by your smartphone.
Rooting Samsung Galaxy Tab S8 without TWRP
In case TWRP recovery is not available for your device, I’m providing a backup solution for rooting your Samsung Galaxy Tab S8 in this article. Although this procedure can be a little trickier, if you carefully follow the instructions listed below, you ought to be able to root your phone without any problems. To root your Samsung Galaxy Tab S8 without using TWRP recovery, let’s get started.
Unlock Developer Options on Samsung Galaxy Tab S8
- On your Samsung Galaxy Tab S8, go to Phone Settings.
- Select “About phone” while scrolling down.
- Choose Software information next.
- Several times tap the Build number.
- Enter the password for your phone’s lock screen.
- The toast message “Developer mode has been enabled!” will now appear on your phone’s screen.
Enable is the OEM unlocking option on Samsung Galaxy Tab S8
- On your Samsung Galaxy Tab S8, go to Phone Settings.
- Developer settings can be found by scrolling below.
- Turn the OEM unlocking setting ON.
Unlocking the Bootloader
To unlock the bootloader on your Samsung Galaxy Tab S8, complete the following steps after enabling OEM unlocking:
- Shut off the phone.
- The Volume Up and Volume Down buttons should be pressed and held.
- Utilize the data cord to connect your phone to your computer.
- Press and hold the Volume Up button until you see the bootloader warning screen to unlock the bootloader on your smartphone.
Verification of Bootloader Unlock
When asked if you wish to unlock the bootloader, select “yes” using the volume controls and then hit the power button to confirm.

Downloading Stock Firmware for Samsung Galaxy Tab S8
It’s crucial to obtain the proper stock firmware for your Samsung Galaxy Tab S8 before we start the rooting process. The stock firmware is available for download from a reliable website like SamFW.com.
The model number and the CSC (Consumer Software Customization) code or regional code are two pieces of information you’ll need to make sure you acquire the right firmware for your device. By selecting Settings About phone, you may quickly determine the model number of your phone. You may get the appropriate stock firmware for your Samsung Galaxy Tab S8 using these two pieces of information.
Download 7zip and LZ4 Tools
You must extract the firmware after downloading it. An LZ4 extract tool is required to extract the firmware.
You must download and instal the 7-Zip programme on your PC to ensure proper firmware file extraction. Use it to extract the LZ4 tool after installation. You will find it simpler to access the firmware file’s files if you do this and extract the firmware file.
Preparing Patched Boot Image file
- Using 7zip, extract the “AP” firmware package.
- Reextract the AP firmware file from the extracted folder by opening it.
- You will now discover the boot.img.lz4 file.
- Add the LZ4 Installed folder to the boot.img.lz4 file.
Converting boot.img.lz4 to boot.img File
- Dispatch the extracted lz4 folder.
- To run the lz4.exe software, drag the boot.img.lz4 file there.
- The file is now converted to.img format.
Patching the boot.img Firmware File with Magisk
- Get the Magisk App on your phone and install it.
- Activate the Magisk app.
- On the INSTALL button, press.
- Choose “Patch a file.”
- A boot.img file should be selected from your device.
- After choosing the file, click “LET’S GO.”
- You can find the patched file in the Downloads folder.
- Copy the magisk patched.img file to your PC while your phone is connected to the computer.
Converting .IMG File to .TAR for ODIN Flash Tool
- On your computer, download and install the 7zip programme.
- Choose the file named magisk patched.img.
- Click the mouse’s right button, then select “7zip” > “Add to archive.”
- Choose “TAR” under the “Archive format” option.
- To finish converting the.IMG file to a.TAR file for the ODIN flash tool, click “OK”.
Boot your Samsung Galaxy Tab S8 into Download Mode
- Turn off your phone first.
- Press the Volume Up and Volume Down buttons, then use a data cable to connect your phone to your PC.
- The Bootloader warning screen will now appear.
- To unlock the bootloader, tap the Volume Up button repeatedly.
- If the bootloader on your device is already unlocked, simply press the volume-up button once.
- By using this technique, you may start downloading.
Flashing Magisk_Patched.tar with Odin Flash Tool
- Run the Odin Tool.
- Your phone should restart in download mode.
- Your Samsung Galaxy Tab S8 should be connected to a computer or laptop.
- The ID: COM part will begin to glow blue. As a result, the port is functional.
- BL: Select the firmware file starting BL.
- AP: Select the Magisk Patched AP firmware file (magisk_patched.tar)
- CP: Select the firmware file starting with CP.
- CSC: Select the firmware file starting CSC.
- When finished, click Start to start the flashing.
- It will take some time for the initial boot.
- Once installed, the Magisk APK will appear in your phone’s app drawer.
Conclusion
I’ve now demonstrated how to root your Samsung Galaxy Tab S8 both with and without TWRP recovery, using TWRP and Magisk. You should now be able to master your gadget and unleash its full potential by carefully following the detailed instructions provided in this guide. Always read the directions carefully, abide by them, and feel free to ask any questions in the comment section if you have any. Be mindful of the hazards associated with rooting your device, and keep in mind that doing so can void the warranty.
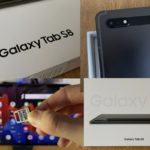
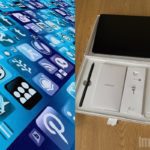
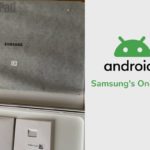
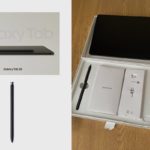
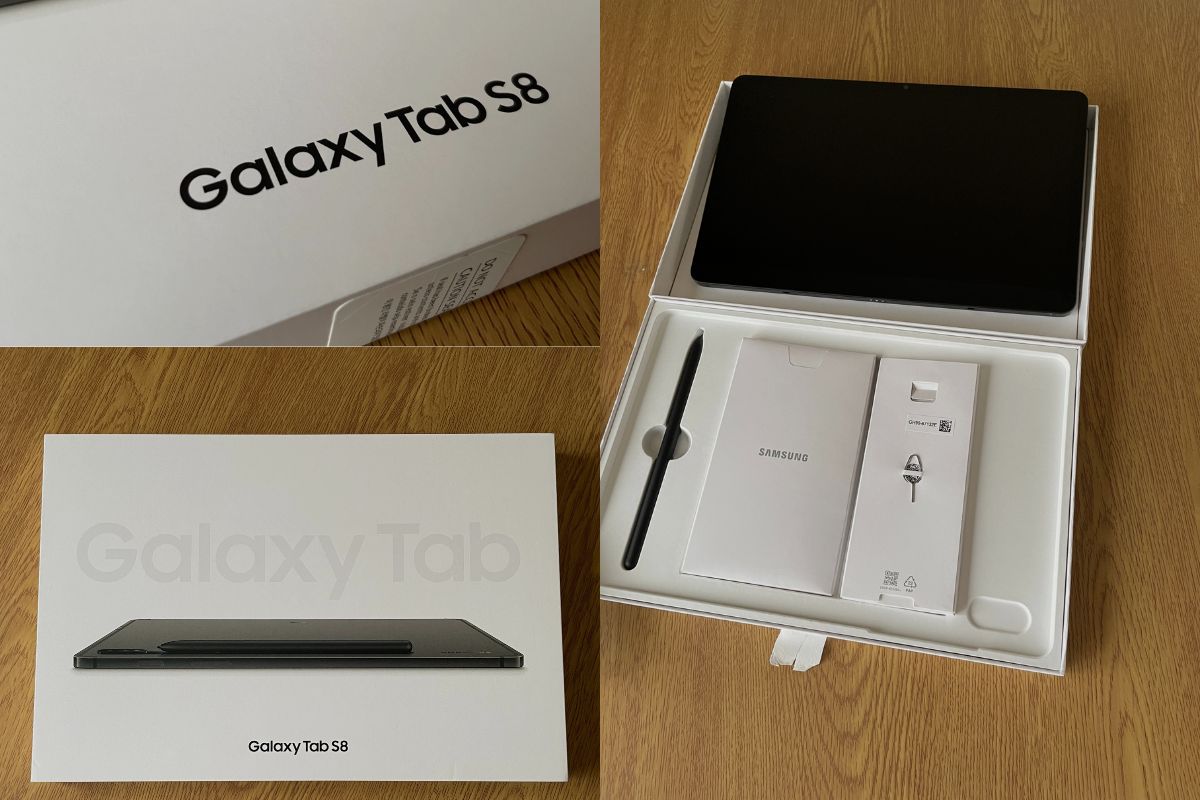
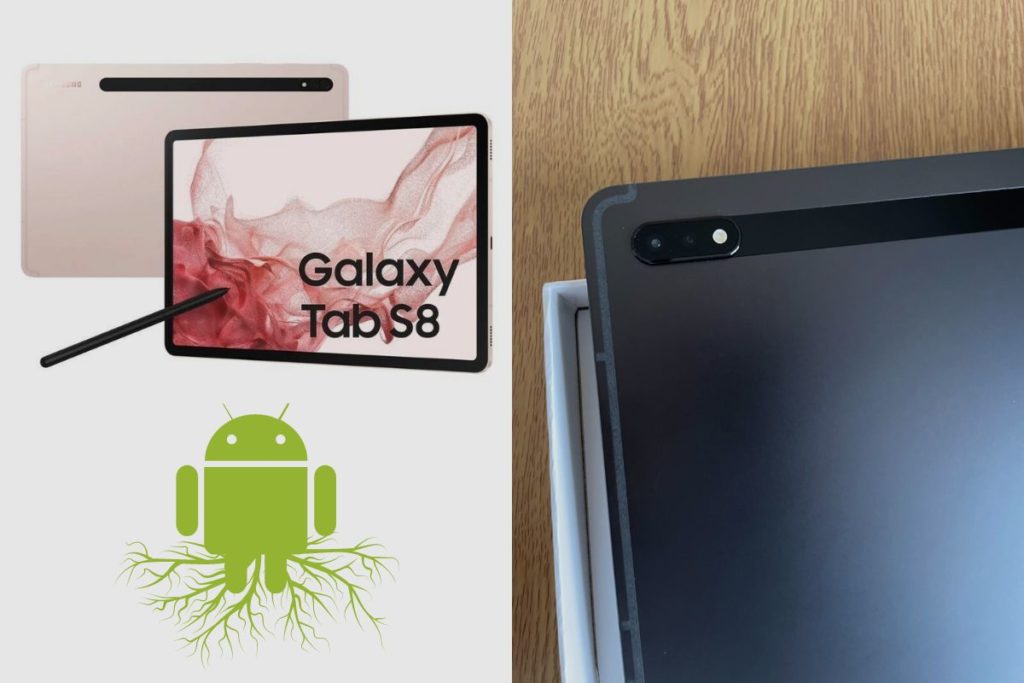
Image Gallery – How to Root a Samsung Galaxy Tab S8 Tablet
Useful Links:
Related Posts to Read:
- Is the Samsung Galaxy Tab S8 Tablet Good for Drawing?
- How to Split Screen on A Samsung Galaxy Tab S8 Tablet
- Is the Samsung Galaxy Tab S8 Good for Gaming?
- Is the Samsung Galaxy Tab S8 Good for Note-Taking?
- Is the Samsung Galaxy Tab S8 11-inch 128 GB Tablet Worth Buying?
- Is The Samsung Galaxy Tab S8 Waterproof?
- How To Use The S Pen On A Samsung Galaxy Tab S8.
- Samsung Galaxy Tab S8 Tablet Performance and Battery Life.
- Can Samsung Galaxy Tab S8 Replace A Laptop?
- Understanding the Software and Apps of the Samsung Galaxy Tab S8 tablet.
References:
- About the Samsung Galaxy Tab S8 Tablet.
- About the Samsung Galaxy.
Related posts: