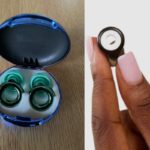
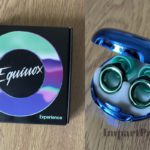
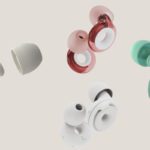
Have you recently bought a pair of Loop earplugs and want to change out the ear tips? Or maybe the ear tips that came with your Loops aren’t fitting quite right, and you need a different size. Whatever the reason, changing the ear tips on Loop earplugs is super easy once you know how.
In this blog post, we’ll walk through the simple process step-by-step. We’ll also share some handy tips for making it even easier. Let’s dive in!
TL;DR – Key Takeaways:
Here are the key takeaways for changing Loop earplug tips:
- Simply push the Loop earplug through the new ear tip opening – no need to remove the old tip first.
- Use an object like a chopstick to hold the new ear tip open while inserting the Loop.
- Grip the new ear tip between your fingers and pinch while slipping over the Loop.
- Take care not to damage the Loop stem when changing tips.
Related post to read: Loop Earplugs Review.
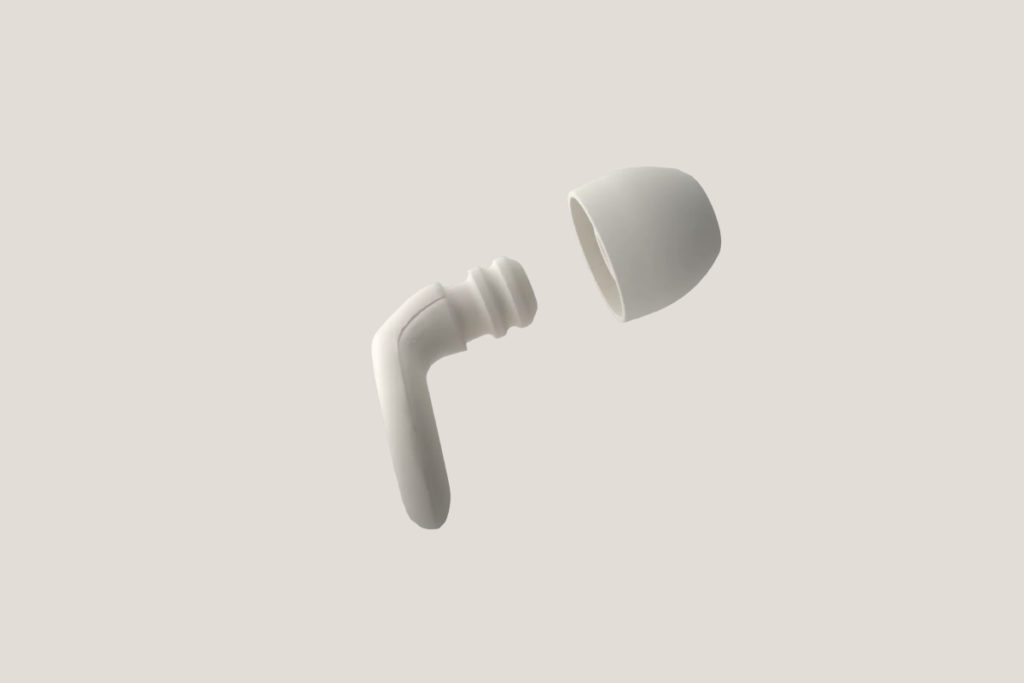
What Do You Need to Change Loop Earplug Tips?
Before we get into the actual process, let’s go over what you’ll need:
- Your Loop earplugs
- New replacement ear tips (usually come in Loop packaging)
That’s it! The great thing about Loop earplugs is that changing the tips is super simple and straightforward. You don’t need any special tools or equipment.
The most important thing is that you have some new ear tips to pop onto the Loops. Loop provides 4 different-sized ear tips with every purchase. But if you need additional sizes or materials (like foam tips), you can purchase those separately.
Okay, now that you’ve got everything you need, let’s look at how to actually change those Loop earplug tips!
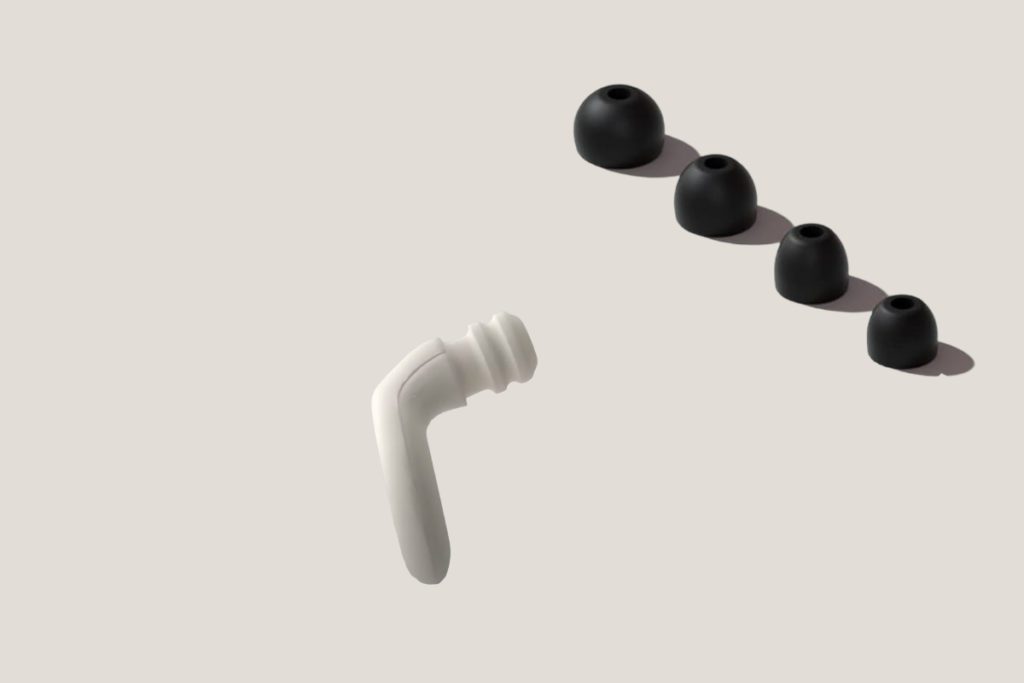
Step-by-Step Guide to Changing Loop Earplug Tips
Follow these simple steps:
Step 1: Push Loop Through New Ear Tip Opening
- Take your Loop earplug in one hand and the new ear tip in your other hand
- Locate the opening of the ear tip and face it towards the Loop
- Push the Loop earplug tip-first into the opening of the new eartip
That’s it for step one! As Loop themselves say, there’s no need to remove the existing ear tip first. Just shove the Loop right on through the new one. Easy peasy.
Step 2: Repeat for Second Earplug
- Grab your second Loop earplug and second new ear tip
- Just like before, push the Loop tip-first into the opening of the new ear tip
And done! In just two simple steps, you’ve changed out the ear tips on your Loop earplugs. Nice and quick.
But if you did happen to struggle to get those new tips on, don’t worry! Here are some handy tips to make it even easier:
Handy Tips for Changing Loop Earplug Tips
If you found it tricky pushing the Loop earplugs into the new ear tips, these tips will help:
Use a Chopstick, Paintbrush, or Pen
- Insert the skinny end of a chopstick, paintbrush handle, or pen into the opening of the new eartip
- This helps hold the ear tip open a bit wider so the Loop stem can slide in more easily.
- With the object keeping the ear tip open, use your other hand to gently push the Loop into the tip.
Pinch Ear Tip Between Fingers
- Grip the new ear tip between your thumb and index finger
- Pinch it in a couple of spots to widen the opening
- While pinching, slip the ear tip over the Loop stem with your other hand
Just be very gentle with the Loop itself as you change the tips. Some people have accidentally poked holes in the earplug stem when using sharp objects to try and widen ear tips. Oops!
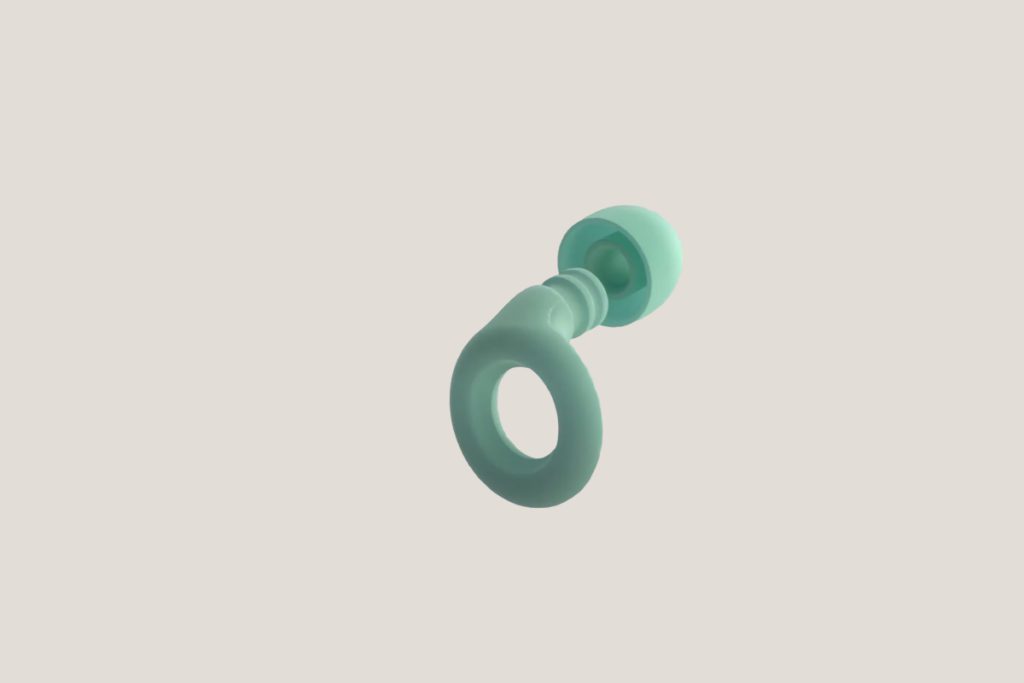
Why Change Your Loop Earplug Tips?
Now that you know how to swap those tips, let’s chat about why you might want to change them in the first place.
Here are some of the top reasons to use different Loop ear tips:
1. Get a Better Fit
The most common reason is simply to get a better fit. Everyone’s ears are shaped differently. So if the size that came with your Loops feels loose or uncomfortable, try a different size tip.
Having properly fitting ear tips is crucial for Loops to work correctly and block sound effectively.
2. Fix Size Issues
Maybe one ear is bigger than the other (very normal!). So, while the medium tips fit perfectly in your right ear, they’re too loose in your left.
No problem – just swap the left tip for a smaller size to get that custom, comfy fit.
3. Prevent Ear Irritation
If your ears get irritated easily, silicone ear tips could be the culprit. Try swapping them out for Loop’s foam tips instead. The smooth, moulded foam is much gentler on sensitive ears.
4. Improve Noise Blocking
Getting better noise reduction is another reason to size up or down. If you still hear too much ambient sound with your current tips, try a different size for a tighter seal and improved noise blocking.
As you can see, sizing your Loop ear tips correctly is really important for both comfort and performance. Don’t be shy about mixing and matching sizes for your perfect fit!
Final Thoughts
Changing the ear tips on your Loop earplugs really couldn’t be simpler. Just shove that sucker right on through the new tip opening! No special tools or crazy manoeuvres are required.
But if you do struggle to get the new tips over the Loop stem, just grab a chopstick, paintbrush, or pen to hold the tip open a bit. Or give it a pinch between your fingers to widen the opening.
Just remember to be extremely gentle and careful not to poke any holes through the Loop itself!
Finding your perfect ear tip fit is crucial for Loop performance and noise-blocking abilities. So play around with the different sizes and material tips until your Loops feel comfy and secure in your ears.
And voila, you’re all set with your custom Loop earplugs! Now, you can rock out in peace and quiet. Let us know if you have any other questions down in the comments!
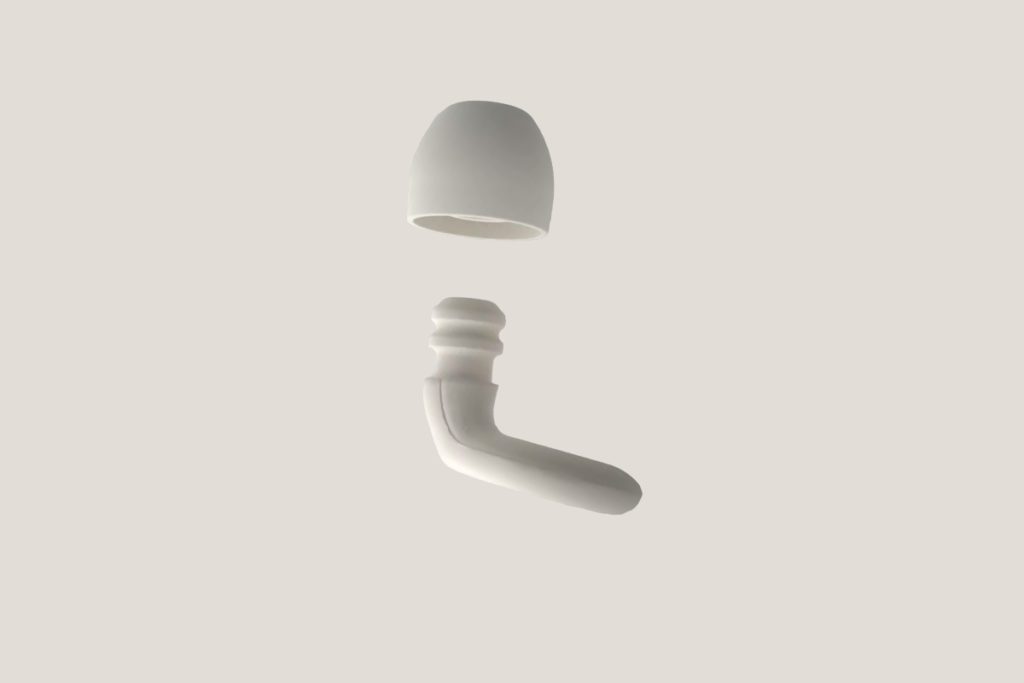
Image Gallery – Discover How to Change Your Loop Earplugs: Here Is An Easy Guide


Useful Links:
Other Related Posts to Read:
- Understanding the Loop Experience Earplugs.
- What Are Loop Earplugs?
- Which Loop Earplugs Are Best for Concerts?
- Do Loop Earplugs Play Music?
- Which Loop Earplugs Block the Most Noise?
- How To Clean Loop Earplugs.
References:
- About Earplugs.


