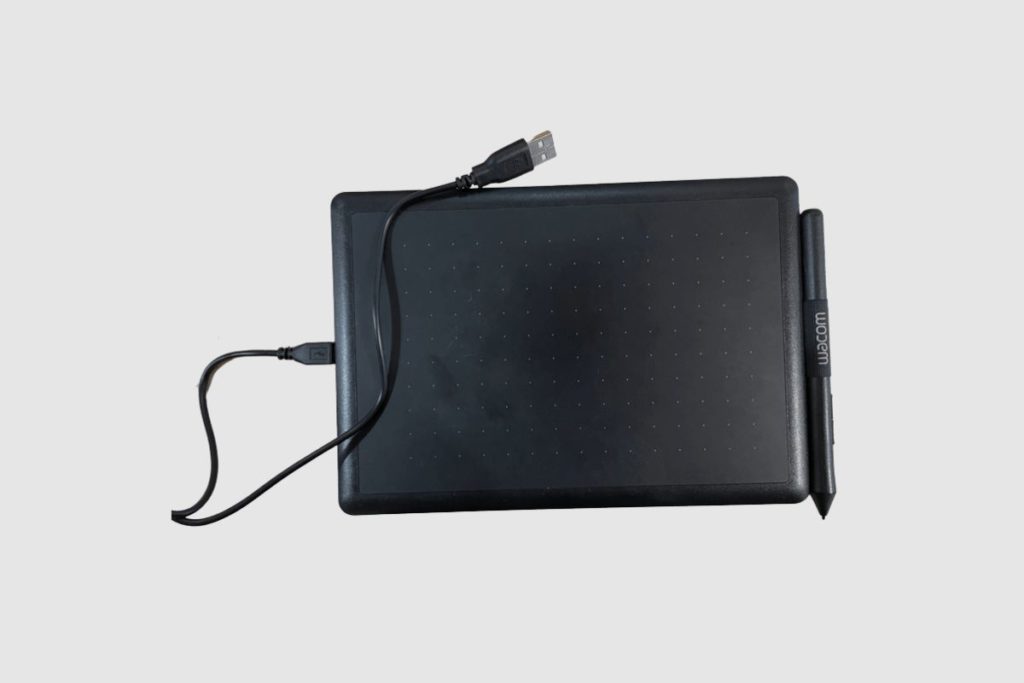
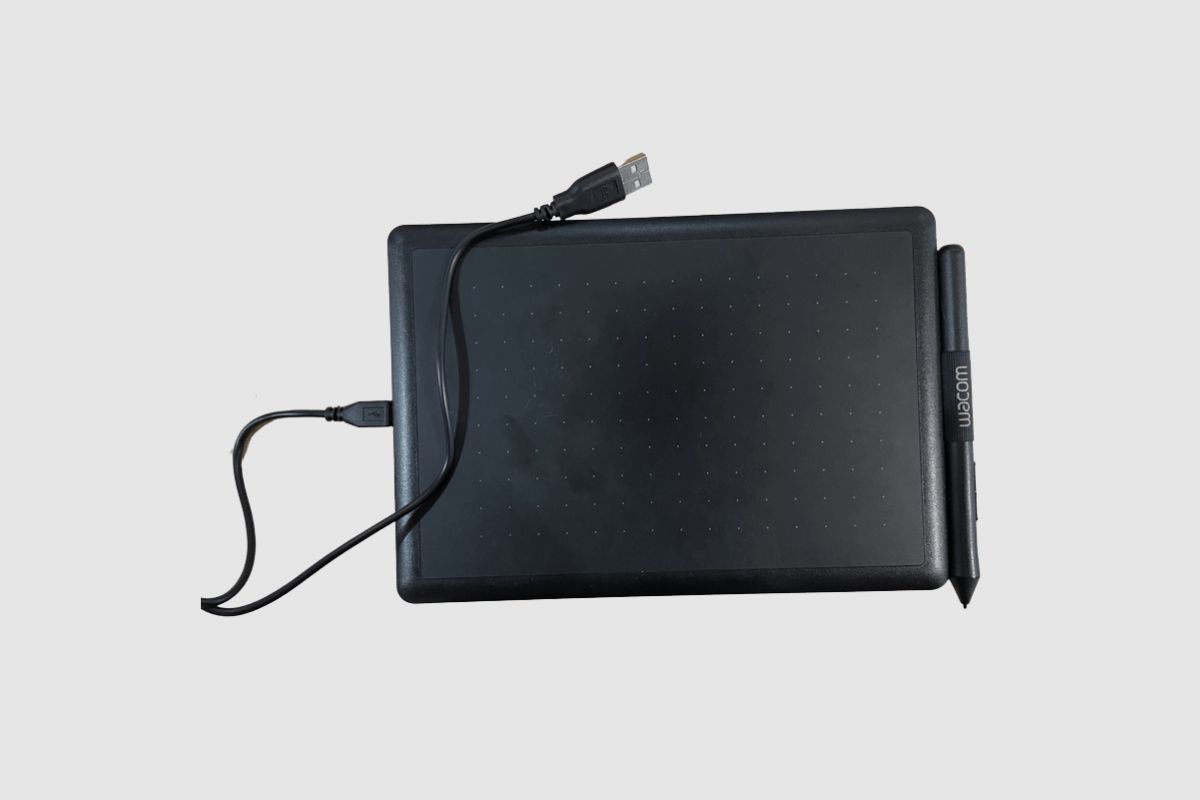
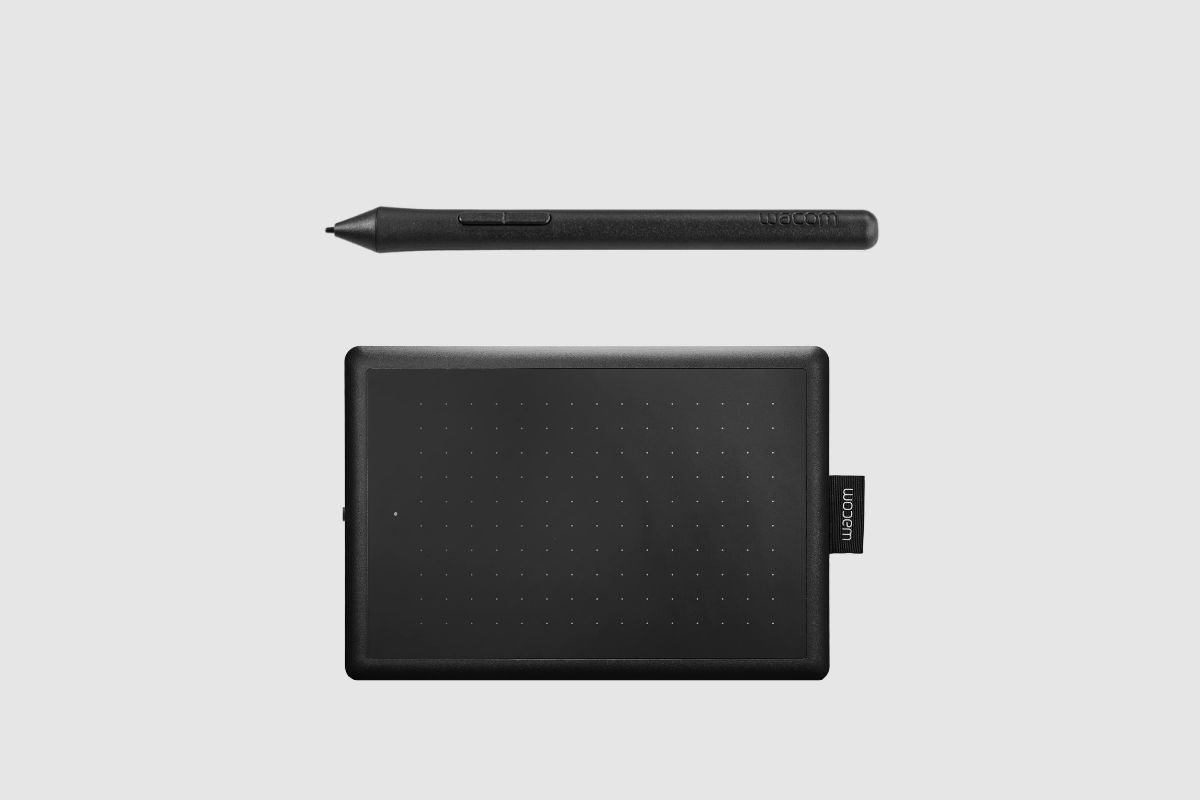
Getting a One by Wacom drawing tablet is one of the first steps you take in becoming a successful digital artist. It is like a rite of passage for all digital artists; you have to start with a drawing tablet like the One by Wacom drawing tablet. It is a budget-friendly drawing tablet that you can take anywhere you want and is reliable enough to handle any task you put in front of it.
However, one thing that is very important to get right is your initial setup and installation because this is where you get your preferences and drivers set up. It is also when your device calibration takes place, and it is not an easy process to put together. So, in this article, I will be teaching you the best way to set up and get started on your One by Wacom pen tablet.

Wacom One pen display 11.6” Pen Display Drawing Tablet White DTC121W0A New
- One By Wacom How to Set Up and Get Started
- What Does the Driver Do?
- What Kind of System Preferences Should I Use?
- Pen Preferences
- Changing Double-Click Distance
- Tilt sensitivity
- Pen Button Layout.
- Changing the Mapping Area
- Aside from Drawing What else can I Do with My One by Wacom Pen Tablet
- Conclusion
- Image Gallery
- Best Prices Online:

One By Wacom How to Set Up and Get Started
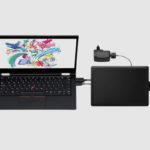
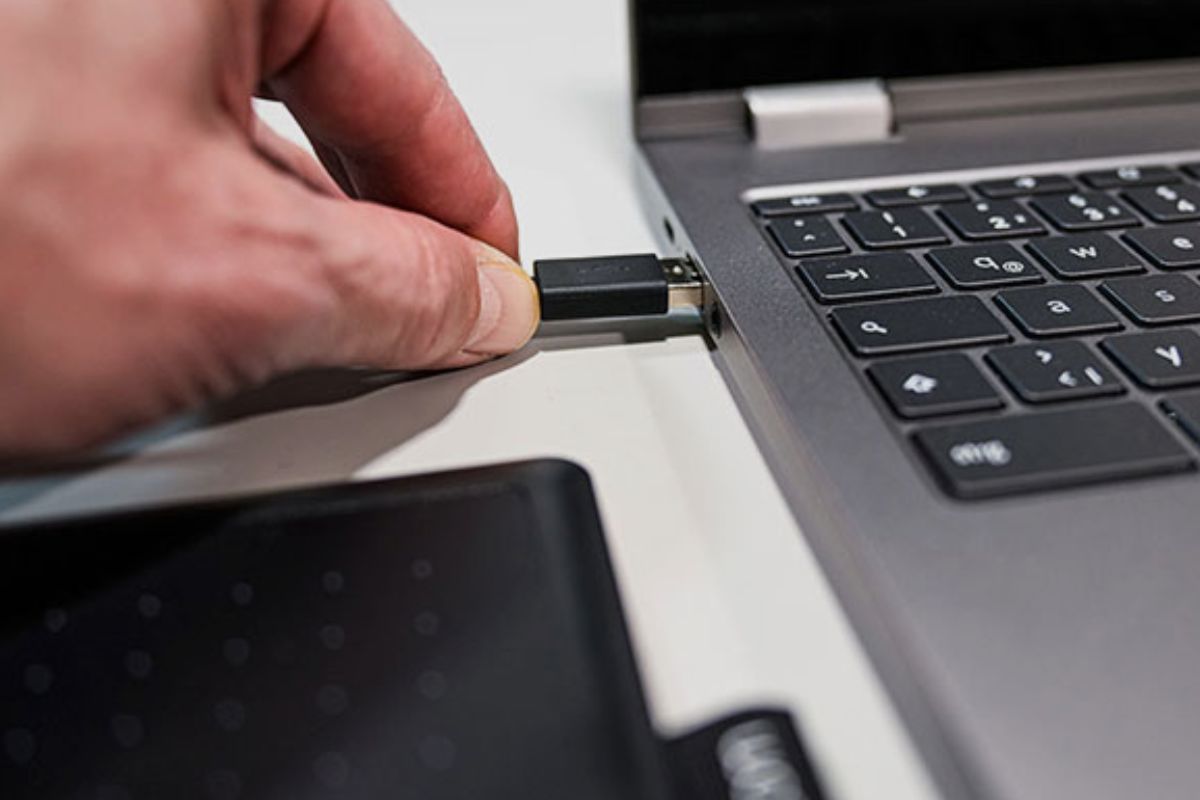
It’s very simple to set up and begin using the Wacom One. It is a simple plug-and-play procedure for most laptops. However, you might need to download the drivers from Wacom’s website for some other laptops.
To install the drivers, you must first connect your tablet to your computer. Then, depending on the type of laptop you are using, select either the Windows or Mac option when downloading the drivers from Wacom’s official website. Your laptop’s drivers can help your computer add preferences and additional information. Your preferences can include pen preferences, level of sensitivity selections, and button operations.
Even if your laptop detects the Wacom drawing tablet, it is advisable to install all the drivers because they contain some additional features and configuration options. The tablet can be used with a variety of art and design programs, including Adobe Illustrator and Kami, once the drivers have been installed.
When the installation is complete, you will be prompted to restart your laptop. The One by Wacom app will launch after you’ve finished that and ask you to set up and register your device. You can do that by signing up and adding your personal information to finish the registration process. After that, you can start using the Wacom One.
What Does the Driver Do?
The driver acts as a link between your computer’s operating system and the tablet. The driver helps your laptop understand pressure data and input data from your stylus pen. In addition to communication and data information, the drivers provide additional functionality, settings, and customisation options. For example, you can specify whether you are left-handed or what other functions you want the pen’s buttons to perform.
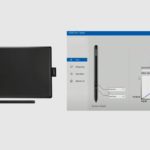
What Kind of System Preferences Should I Use?
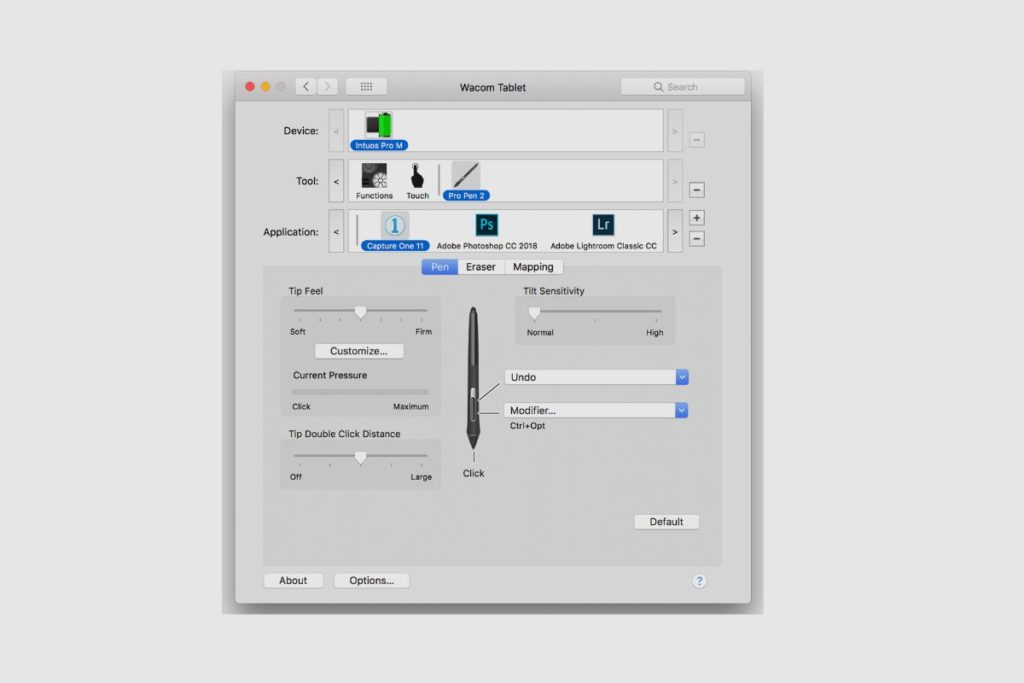
Your system preferences are very important but personal. However, here are a few of my own personal system preferences that should get you started. After you install your drivers, the first thing you should go to is system preferences. It should show you your device information and some other items like pen preferences, eraser, and button mapping. So, here are some system preferences you can use
Pen Preferences
One of the first things you should change once you have set up and installed your drivers on your One by Wacom tablet is your pen preferences, and the best thing to change is your “pen tip feel.” This changes how much pressure you place on the pen to affect a change in your pen’s brush strokes, thickness of shading, and size of your lines. I prefer to have my pen pressure sensitivity set to high because it really improves the feel of your pen and enhances the idea of its simulation and paper feel.
Changing Double-Click Distance
Changing your double-click distance is a very important setup process because it allows you to double-click on the spot and changes something. It makes it feel like you’re using a mouse. So, you should turn off double-click distance. When on the double click distance, it assumes you won’t click on the same spot twice because it will adjust how many clicks it would take for the action to be made, and it will totally change your rhythm when drawing on it.
Tilt sensitivity
Another important preference to set to normal is tilt sensitivity. This is because some apps know when you are tilting your pen from one side to the other and will adjust accordingly or implement a feature like angular representation. So, you must set your tilt sensitivity to normal so that you don’t have either slow tilt recognition or quick tilt recognition.

Pen Button Layout.
So, the pen on your One by Wacom tablet has two buttons, a front and back button, all mapped for different settings. So, what you want to do is map these buttons to specific commands that match your keyboard’s keystrokes. I usually change my back button to an “undo” command which allows me to quickly undo a mistake I made. It is a very essential setup because it allows me to quickly utilise the undo option without having to press anything on my keyboard.
Changing the Mapping Area
Another important thing you can change on your One by Wacom pen tablet is the mapping area of the tablet. So, when you are using your One by Wacom tablet, going from one end to the other can be a bit time-consuming because it is designed to match the surface area of your tab. So, by reducing the active surface area, it should allow you to move around with the pen quicker and easier.
This is more comparable to using your mouse to move around the screen. To do this, you are going to need to change your tablet area and then drag the top left portion of your tablet surface area, but make sure your screen area is full so that the portion of your tablet that you are using corresponds to the full area of your screen.
So, these are some of my own preferences, and they should help you get your own setup and should help you on your way to drawing on your One by Wacom tablet.
Aside from Drawing What else can I Do with My One by Wacom Pen Tablet
Your One by Wacom pen tablet is a very useful drawing tablet that can be used for more than just drawing. Aside from drawing, one of the most important things I do with my One by Wacom pen tablet is taken notes. Since purchasing the Wacom One, I no longer take notes or write on paper.
I downloaded a note-taking app called Evernote, and I use it to take down all my notes when I’m in class, and it has made my life very paper-free. I have also found it very useful for math classes, and now I can easily write down all of the symbols in class with very minimal stress.
Another important thing I use the One by Wacom pen tablet for is hand lettering and calligraphy. Since the one by Wacom pen tablet is pressure sensitive, I can use the tablet to produce thin and thick strokes, which allows the letters to be written out when I’m creating calligraphy. It is very easy to use and a lot of fun to use, especially in Photoshop and Evernote.
These are just a few of the ways I use the One by Wacom pen tablet aside from drawing, and I’m sure there are a lot more ways to use it, so you guys can let me know of the other ways you use your One by Wacom pen tablet.
Conclusion
Getting started on your One by Wacom pen tablet can be a very complicated process because there are so many options to choose from, and it can get very confusing to pick the right option, but hopefully, I have given you enough advice to allow you to set up your One by Wacom tablet perfectly. Thank you so much for reading this. Please leave all your questions in the comments section, and I’ll do my best to answer them on time.
Best Prices Online:


Image Gallery


References:
Related posts: