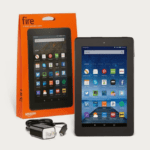
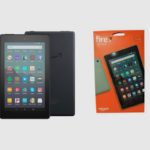
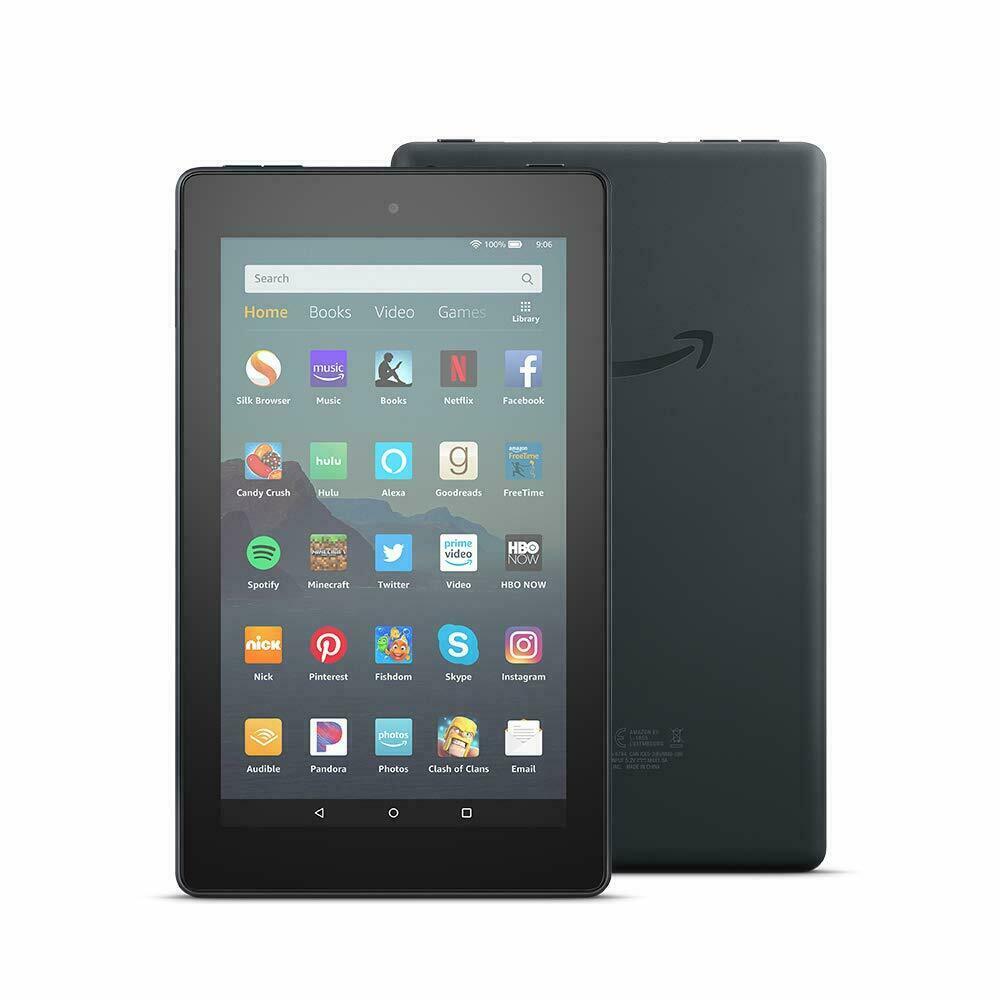
The Amazon Fire 7 Tablet is a great low-cost tablet device for kids, entertainment and productivity. With a variety of apps available for any purpose, the Fire 7 Tablet is a versatile device that can be used for school, work, or play.
If you find that the storage on the device is not enough for your needs, there are a number of ways to increase the storage capacity, including using a microSD card or cloud storage.
In this article, I’m going to show you how to insert SD card in Amazon Fire 7 tablet and also how you can double-check to make sure that it’s inserted properly.
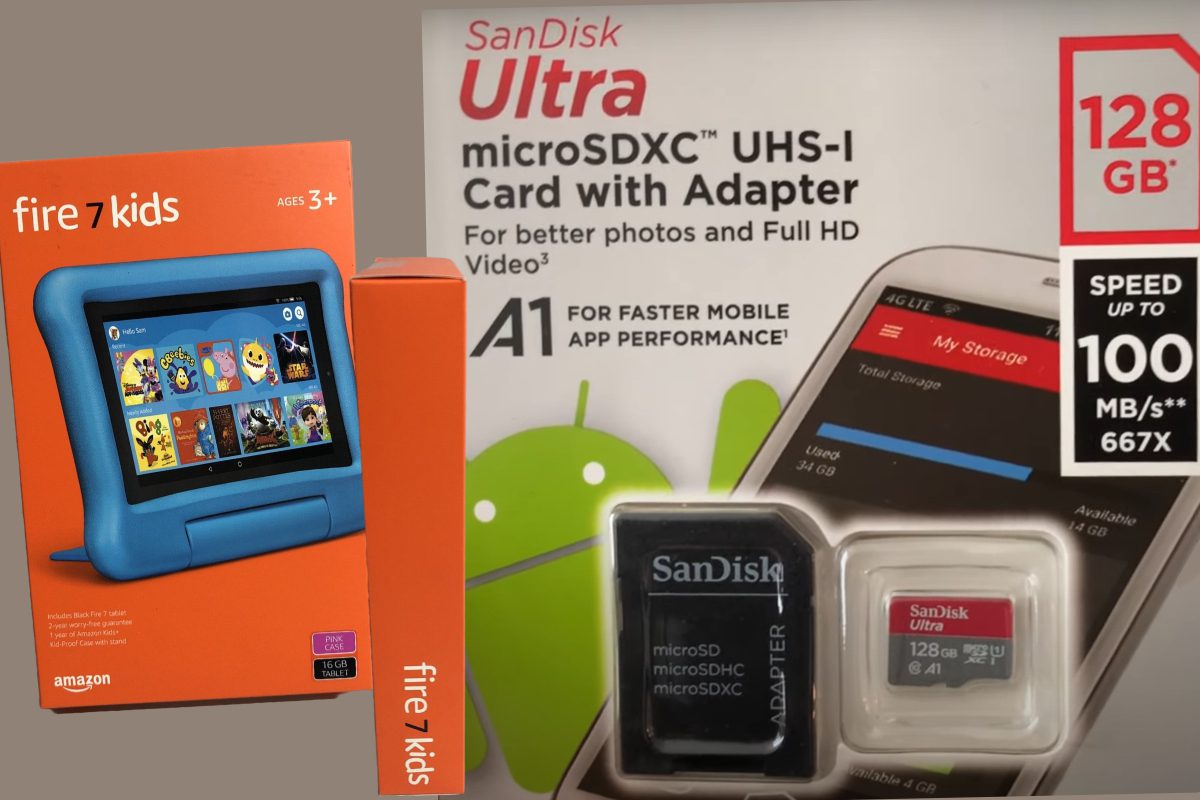
The first thing to note is that the max SD card size you can use with the Amazon Fire 7 is 512GB. In this how-to guide, I will use a 512GB Samsung card, which works best with these tablets. This is Evo Class 10.

Step-1 – Open the Amazon Fire 7 Tablet SD Card Slot
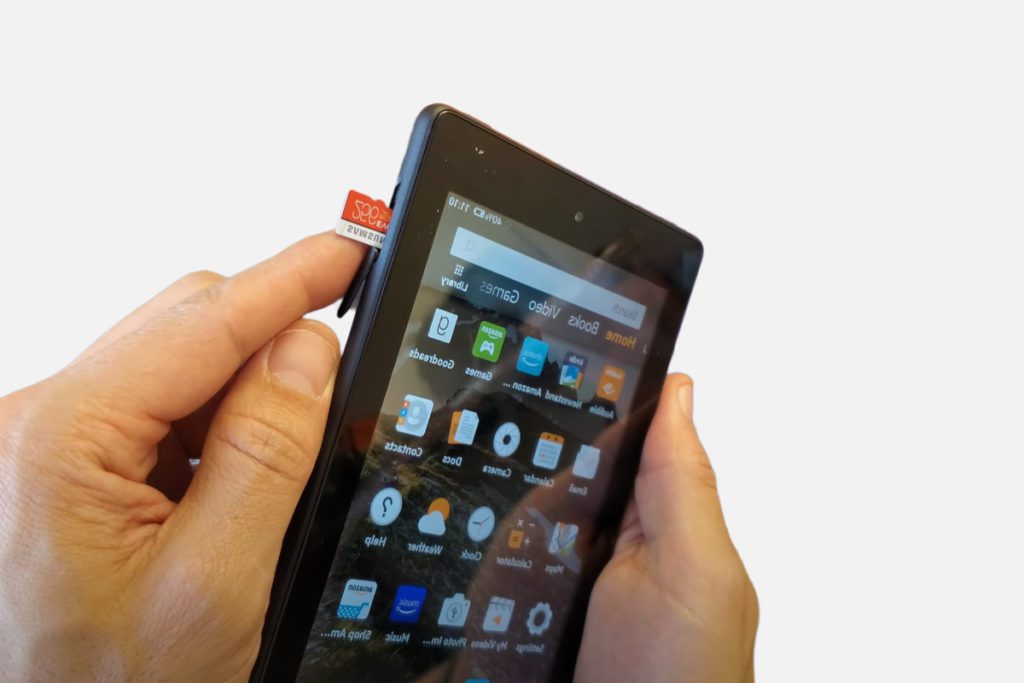
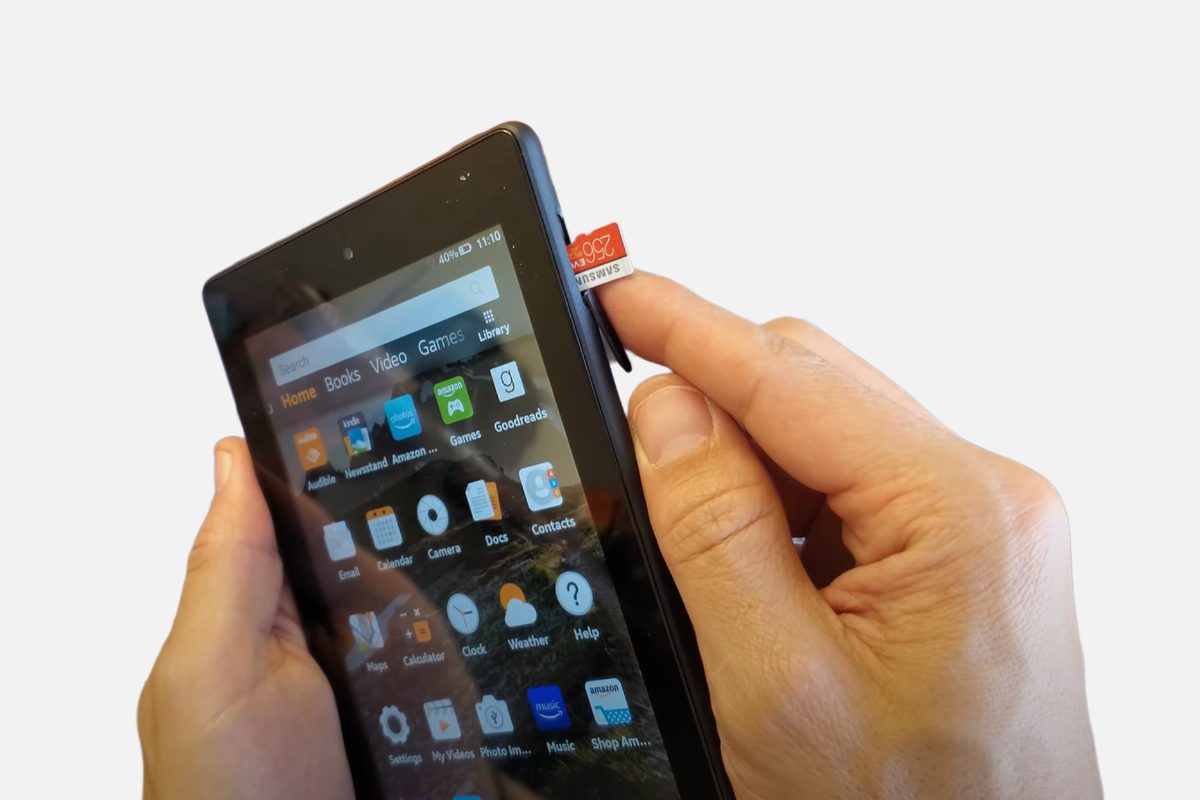
The first thing you want to do is go ahead and open up your SD slot. The SD card slot is by the top right side of the tablet. Basically, you want to pry your finger underneath the top and kind of whip it out. You might have to use something pointy in there if you don’t have nails.

Step-2 – Slip the Amazon Fire 7 Tablet SD Card into the Slot
Once you open the SD card slot cover, you would need to follow the instruction on the SD card tray for the positioning of the card. Generally, the card will have to face down.
You want to go ahead and slip it into the slot, and you want to push all the way in till you hear a click signalling connection (you might have to use your fingernail to push it in).
Once it’s in, you will have to follow the instructions on the screen.
Step-3 – Follow the Amazon Fire 7 Tablet On-screen Instruction
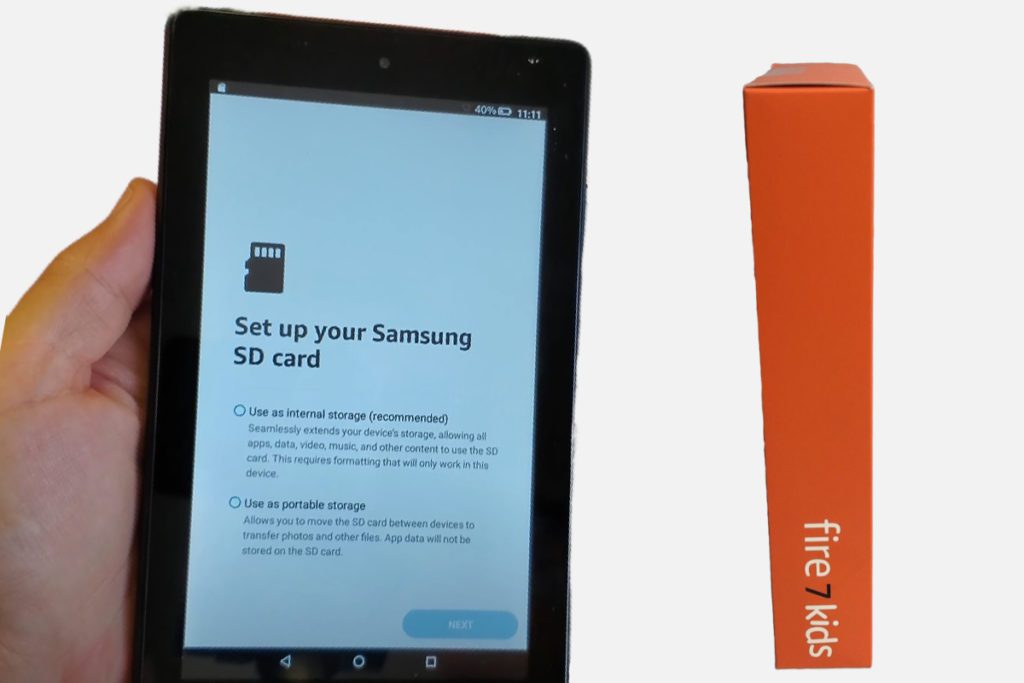
Now that the SD card is in, you could use it as internal storage or portable storage. If you use it as internal storage, it will add up to your current internal storage size.
For example, let’s say you have the Amazon Fire 7 tablet with 32GB, and you add the 512GB SD card; that means your new total internal storage will be 544GB (32GB + 512GB).
Nevertheless, you can still use it as portable storage if you still want to be able to save things like photos, videos and other stuff on the tablet and be able to reuse it on other devices. However, I believe most people might want to use it as internal storage simply because 32GB really isn’t enough.
Step-4
Now, let’s move on. For the purpose of this how-to guide, I will be using internal storage as my option. Click on the Internal storage, and then click on next.
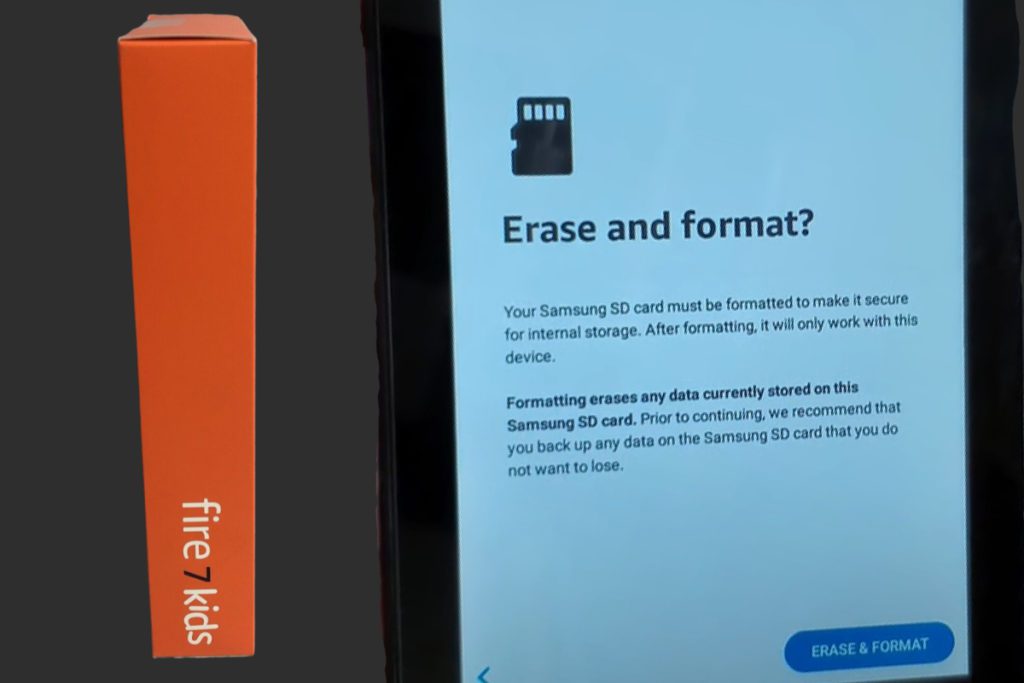
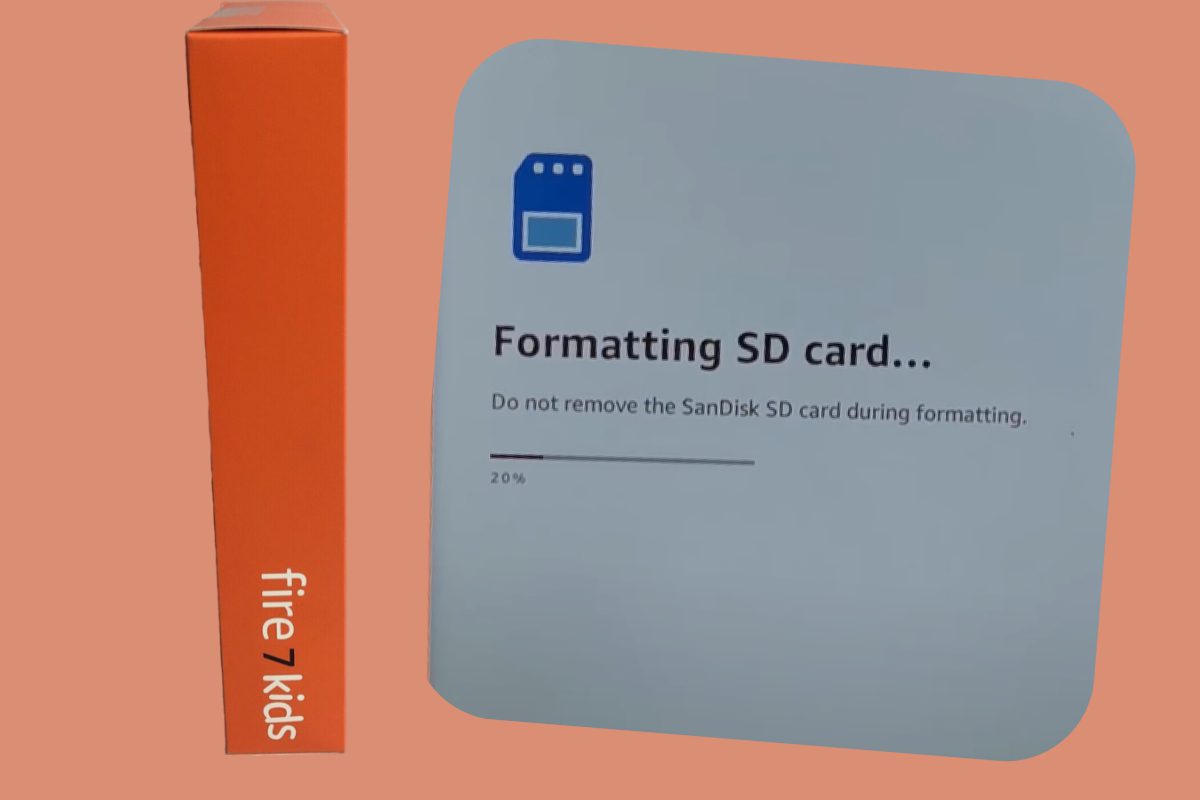
Here, you will have to erase and format the card but bear in mind that everything you already have on the SD card at the moment will be wiped off. Basically, it’s going to be formatted so that it can be part of the internal storage of the tablet’s internal storage.
On the other hand, if you want to use the SD card as portable storage, you have to select the other option, and it will format it differently.

Step-5
Next step; here, you will have the option to move data to the SD card by clicking “Move Now”. Meaning that if you have any photos or other files on the internal storage, it will go ahead and move them to the SD card. Although, you have the option to do that later by clicking “Move Later”.
Bear in mind that the SD card will be working as part of the internal memory moving forward.
In this scenario, I’m going to click “Move Now”. Okay, the SD card is ready. I’m going to click on done, and that is it, all done.
Additional Step
Now, if you want to double-check that everything is working fine, all you need to do is to swipe down to the notifications and then click on the gear icon to go to settings. Or you can just click the settings from the screen.
From settings, you can just scroll down and go to storage, and from storage, you will see the internal storage and the SD card.
That’s it, you are good to go, and that’s pretty much how to insert an SD card into your Amazon Fire 7 tablet.
Final Thought
Overall, inserting an SD card into your Amazon Fire 7 tablet is a pretty easy process. Just make sure that you have the right type of SD card and follow the steps discussed in this article.
I hope you find this article helpful! If you have any questions, please feel free to leave a comment below, and I will try my best to answer your question.
Related Post: Amazon Fire 7 Tablet: Is It Really Worth Buying?
Image Gallery – How To Insert Sd Card In Amazon Fire 7 Tablet?


References: Amazon Fire
Related posts: