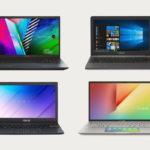
Setting up a brand new laptop, like an Asus VivoBook X515 laptop, is a straightforward process that should only take a few minutes to complete. To begin, you will need to unpack the laptop from its box and make sure you have all of the necessary accessories, such as the power adapter and any included documentation.
Once you have all that handy, here are the steps you will need to take to get your brand-new Asus VivoBook X515 laptop up and running:
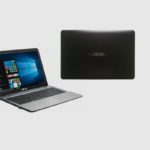
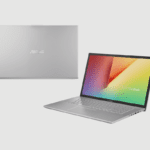
Step 1: Unbox And Check Your Asus VivoBook X515 Laptop
The first step is to unpack the laptop; carefully inspect the laptop and the items inside the box for any signs of damage or missing parts before proceeding to the next step.
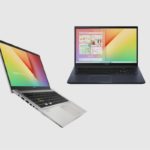
Step 2: Power On Your Device
Now it’s time to power on your device! Plug in the power adapter into a wall outlet and then connect it to your laptop. Now press and hold down the power button for several seconds until your laptop turns on. You should see a startup screen with some options, such as language selection and connection setup.

Step 3: Set Up Your Language & Region
The next step is to choose your language and region settings. You’ll be asked if you want to use your Windows operating system in English or another language of your choice (such as Spanish or French). After making this selection, select a region that best reflects where you live so that localised settings such as time zone are automatically set up for you.
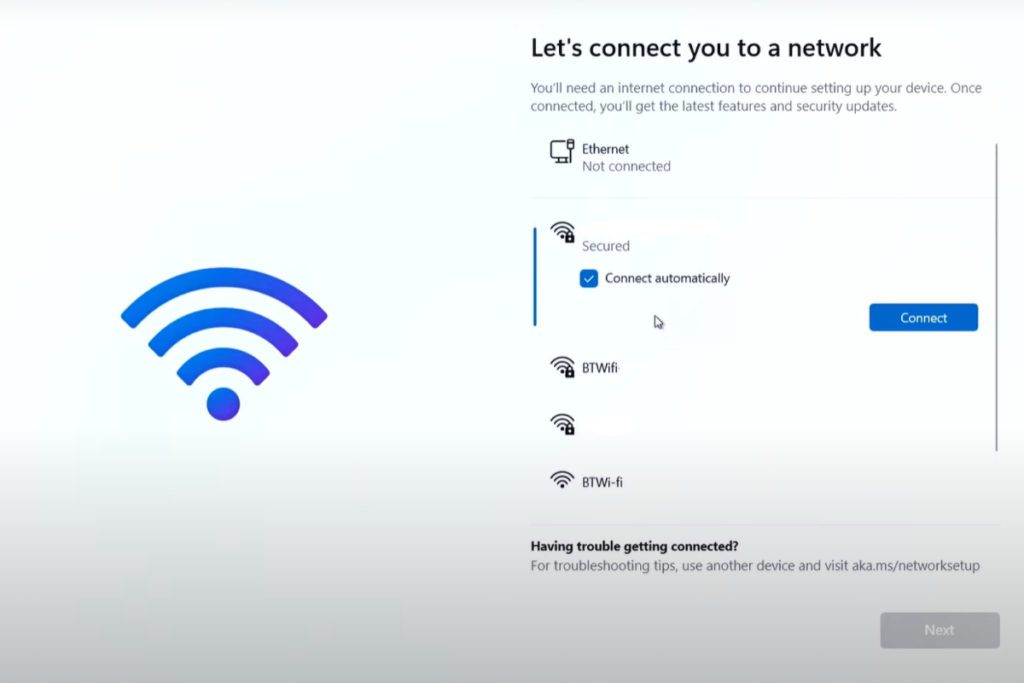
Step 4: Connect To WiFi
After setting up your language & region settings, it’s time to connect your laptop to WiFi in order to get online access from anywhere. In order to do this, go ahead by following the online instruction provided; choose your WiFi network and put in your WiFi keyphrase to log in.
In a situation where this option was not automatically prompted, you can still access the WiFi connection option by clicking on “Settings” from the windows menu bar located at the bottom left-hand side of the screen. Then select “Network & Internet” from there, which will open up options for connecting with the WiFi network.
Select “WiFi” from here, then find and select your WiFi SSID from the options displayed, then enter the password/keyphrase if required, then click the “Connect” button once done entering the information correctly.
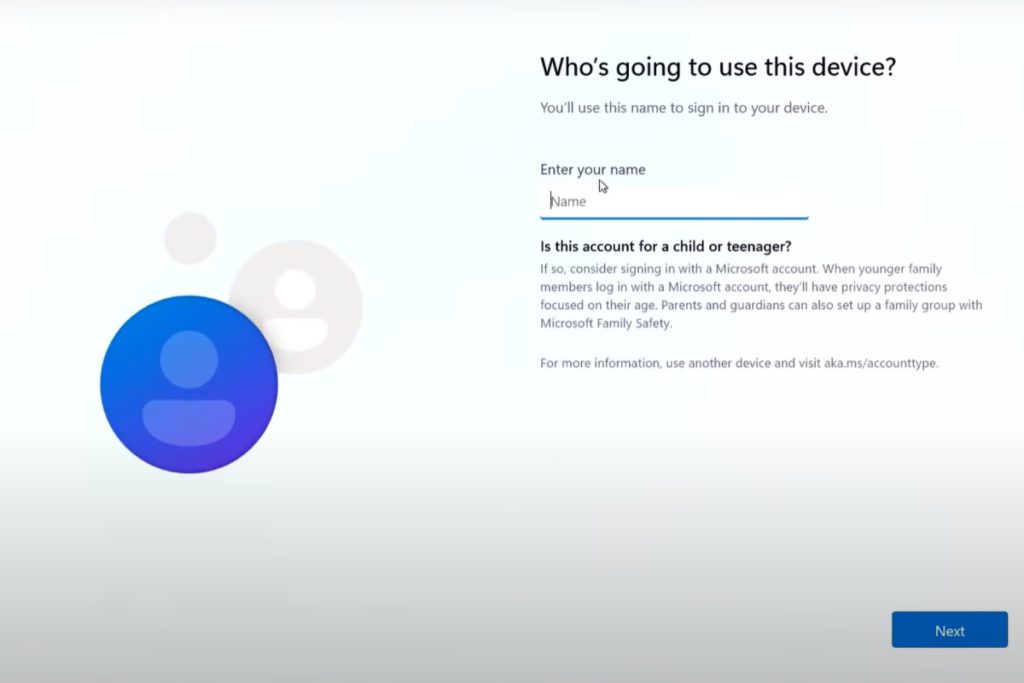
Step 5: Create Your User Account
Once successfully connected online via a WiFi network, now is time to create a user account; in most cases, you will just need to log in with a Microsoft account. Generally, this helps you synchronise your documents across your other devices if you choose to use your Microsoft email account to log in (outlook).
However, not everyone is comfortable with such; if you’re not comfortable using your Microsoft email account to log in as a user, then your other option is to create a local user account.
To create a local user account, click the “Create User Account Button”, which will open up a new window full of fields related to user account details such as username/password etc. Fill out all relevant information correctly, then click the “Create User Account Button again to confirm the settings entered correctly before hitting submit button (make sure to remember the username/password given here later!).
NOTE: For Windows 11 Home Operating System (OS), it is not possible to create a local user account. However, if your Windows 11 OS is the Pro version, you will be able to create a local user account. This restriction does not apply to Windows 10 Home.

Step 6: Personalise Your Laptop
Now that everything is set up properly, its time to customise/personalise your laptop experience; go back main settings menu by clicking the windows logo located taskbar at the top left corner, then select personalise option, which gives a range of options regarding the background images/themes etc.
Choose whatever tickles your fancy, then click the save button once done making changes, which should take a few moments to apply changes to take effect before being seen properly across the device!
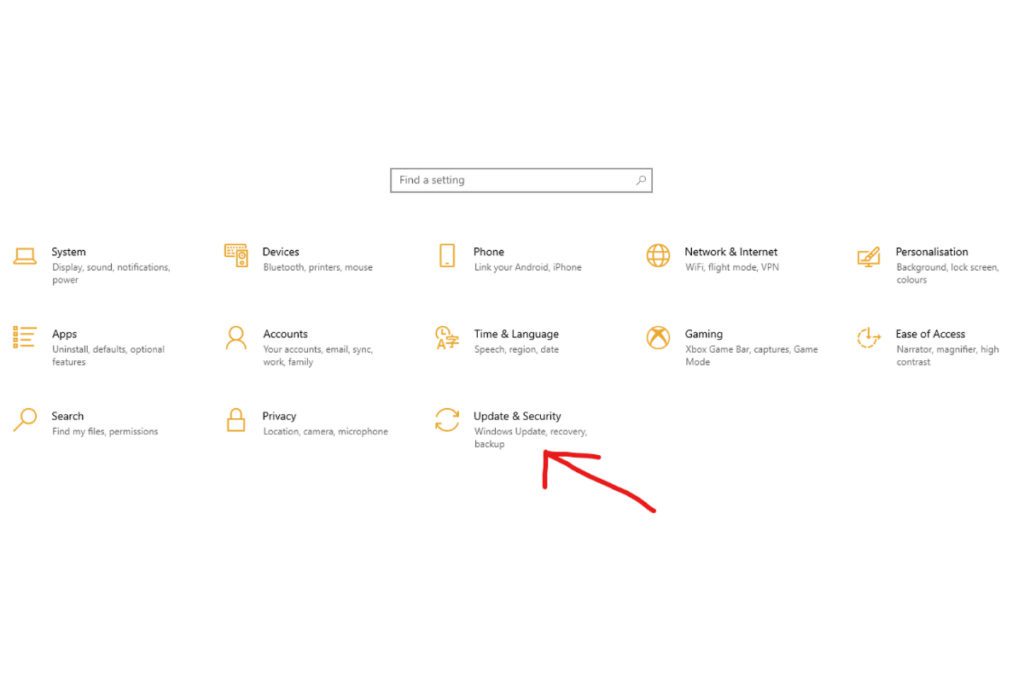
Step 7: Install Any Necessary Drivers or Software Updates
Before using the laptop fully, make sure any necessary drivers/software updates are installed correctly. To do this, go to the settings by clicking on “Settings” from the windows menu bar located at the bottom left-hand side of the screen, then click on the “Update & Security” option, which will open up options to check for driver updates or download any software updates required. Once all necessary driver/software updates are downloaded and installed, you should be good to go with using the laptop!
Conclusion
As you can see, setting up a brand new Asus VivoBook X515 laptop is a relatively straightforward process if you follow the steps outlined in this guide. If you have any problems along the way, your best options will be to either contact the retailer you bought the laptop from or the Asus customer service team directly.
Having said that, if you follow the steps listed above, I’m sure you’ll be up and running in no time.
Other Related Post:
References: Asus, Asus VivoBook X Series.
Related posts: