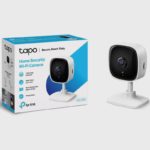
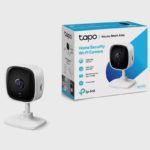
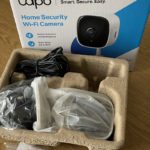
Have you recently purchased a Tapo C100 home security camera and aren’t quite sure how to get it hooked up and connected? Don’t worry, you’re not alone! Connecting new smart home tech can feel daunting, but I’m here to walk you through the process step-by-step.
In this blog post, we will cover everything you need to know to get your new Tapo C100 up and running. I’ll provide detailed instructions on downloading the app, connecting to WiFi, placement tips, adjusting settings, and more. Whether you’re a total newbie or have some experience with smart home cameras, you’ll find this guide helpful. Let’s dive in!
Key Takeaways: How Do I Connect My Tapo C100 Home Security Camera
- Download the Tapo app and create an account
- Plug in the camera and wait for it to initialize
- Connect the C100 to your WiFi in the Tapo app
- Position the camera with good visibility of the area you want to monitor
- Adjust settings like motion detection sensitivity as needed
Related Post: TP-Link Tapo C100 Camera Review.
How do I set up my new Tapo C100 security camera?
If you just unwrapped your shiny new Tapo C100, you’re probably eager to get it hooked up and start monitoring your home. The good news is that setting up this camera is quick and straightforward as long as you follow the steps.
The first thing you’ll need to do is download the Tapo app, which is available for both iOS and Android. This app allows you to view live footage from the camera, receive alerts, customize settings, and more.
Downloading the Tapo app
To download the Tapo app, simply search “Tapo” in either the Apple App Store or Google Play Store. The app should be the first result. The icon looks like a blue house. Download and install the app, then open it up and create yourself a TP-Link ID if you don’t already have one. This ID will allow you to manage and view footage from any Tapo cameras you have now or in the future.
Tapo app icon
Connecting the camera hardware
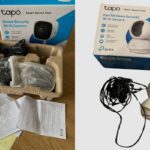
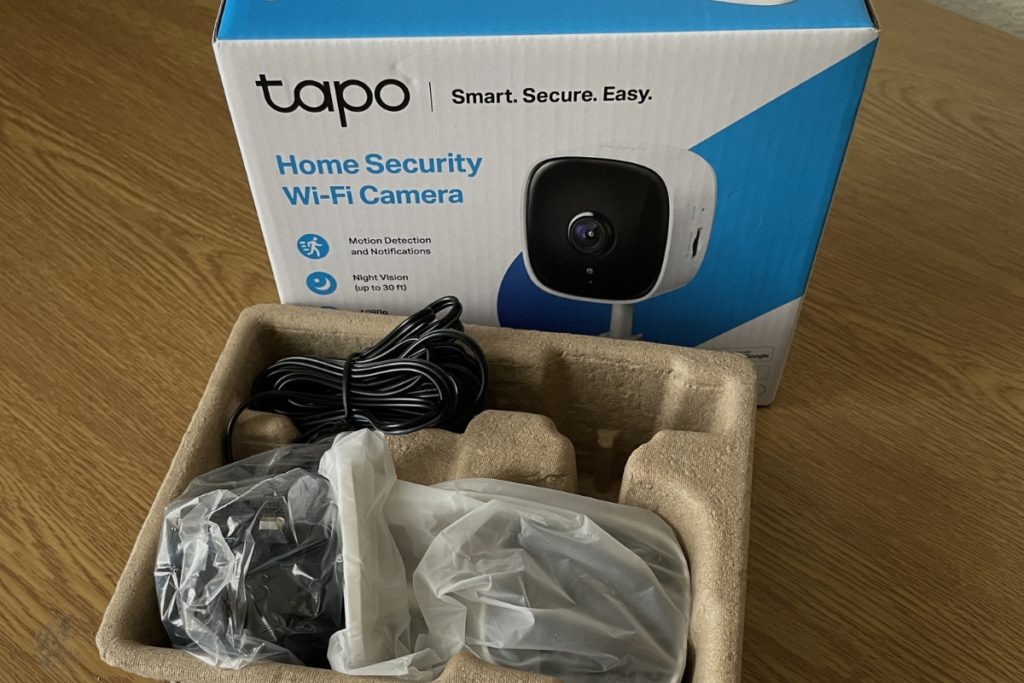
Once you’ve downloaded the app, you’re ready to connect the physical camera unit. Start by plugging in your Tapo C100 using the included power adapter. Choose an outlet that’s preferably nearby where you want to position the camera.
Give the camera about 30 seconds to initialize after plugging it in. The status light will blink red and green when it’s ready to be set up.
Now go back to the Tapo app and you should see a prompt to add a new device. If not, tap the “+” icon to add a new device manually. The app will automatically search for and find your new Tapo C100 as long as it’s plugged in nearby.
Connecting to WiFi
When the app discovers your camera, you’ll be asked to connect the C100 to your WiFi network. Simply select your network name and enter your WiFi password. The camera and app will communicate directly during setup, without needing an internet connection.
Wait a minute or two for the camera to connect to the WiFi. You’ll see a pairing progress screen while it connects. Once WiFi setup is complete, feel free to unplug and move the camera to its permanent mounting location if needed. As long as it’s within range of your WiFi, placement won’t matter.
Final setup steps
After WiFi is configured, the Tapo app will have you name your camera and assign it a location. This helps identify footage and alerts if you end up adding more Tapo cameras. Finally, the app will confirm setup is complete and you’ll be taken to the live view.
And that’s it! In just a few minutes, your Tapo C100 will be connected to your home WiFi and viewable in the app. Pretty painless, right?
Where should I place my Tapo C100 security camera?
You probably purchased your Tapo C100 with a specific monitoring purpose in mind. Maybe you want to keep an eye on your front door, watch over pets while you’re at work, or check in on the kids.
Where you place the camera will impact what kind of footage and alerts you receive. Here are some tips for positioning your C100 effectively based on what you want to monitor:
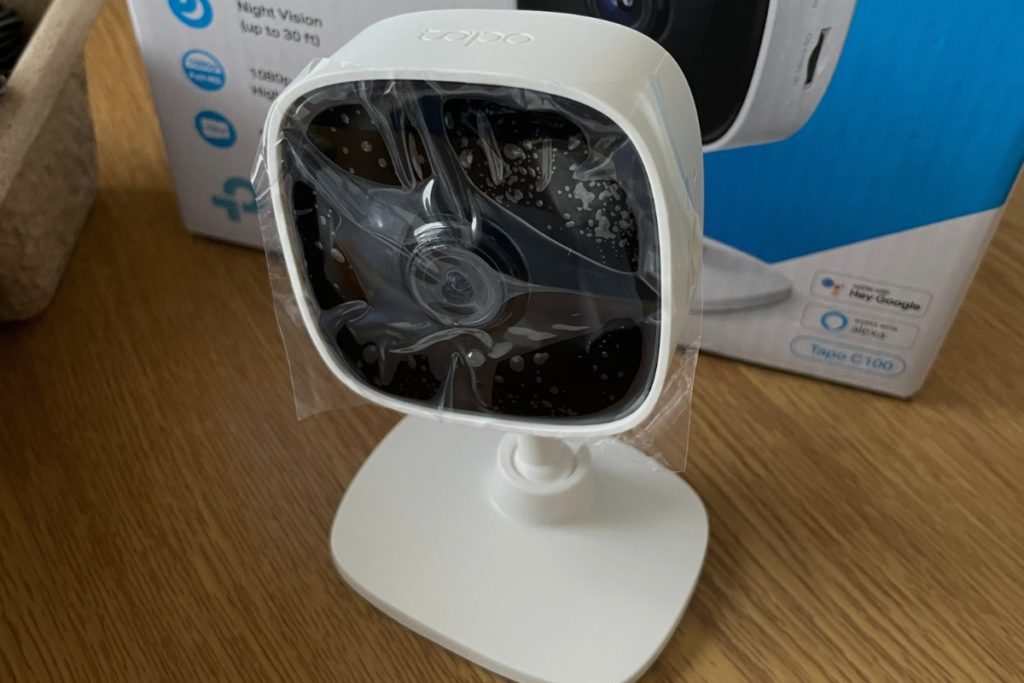
Indoors vs. outdoors – The Tapo C100 is designed primarily for indoor use. It lacks weatherproofing for permanent outdoor installation. You can safely place it in covered outdoor areas like patios and garages if needed.
High vantage points – Mounting your camera high up on walls or ceilings gives the best overall view of a room. Try to aim the camera diagonally across the space you want to monitor.
Avoid obstructions – Position the C100 so its view isn’t blocked by furniture, plants, etc. Consider wide spaces like living rooms and entryways.
Eye-level views – If you want to closely monitor something specific like a front door or refrigerator, mount the camera closer to eye level. This gives a more direct, head-on type of view.
Night vision requirements – The C100 has infrared night vision with about 30 feet of visibility in total darkness. Make sure the camera is close enough to the area you need to see at night.
Take some time to consider activity patterns and layouts in your home when choosing the ideal spot to place your Tapo C100. Having the right vantage point makes a huge difference in the usefulness of the footage.
How do I adjust the Tapo C100’s motion detection settings?
One of the most useful features of the Tapo C100 is customized motion detection. Out of the box, motion detection is enabled with default sensitivity settings. This means anytime the camera detects movement in its field of view; it will record footage to the cloud and send you a notification.
You may find the default motion detection settings too sensitive, causing too many alerts. Or maybe you want certain areas of the view blocked from triggering motion detection.
Luckily, the Tapo app makes it easy to fine-tune motion detection to fit your needs and preferences. Here’s how:
1. Open motion detection settings
In the Tapo app, tap on the settings cog icon for your C100 camera. Scroll down and select “Motion Detection” to view and adjust settings.
2. Adjust sensitivity
Use the slider to set motion detection to low, medium or high sensitivity. Start conservatively with low sensitivity and increase as needed. Too high may cause nuisance alerts.
3. Set a schedule
By default, motion detection is always on, but you can set a schedule for when it should be active. This is great for times when false alerts are more likely.
4. Mask unwanted areas
Tap on “Drawing Motion Detection Area” to block off parts of the camera view from triggering motion alerts. Blacked-out zones will be ignored.
5. Set notifications
Customize what alerts you receive and how often when motion is detected. Consider just receiving email digests instead of push notifications.
Try out different motion detection settings over a few days to find the best setup for each Tapo C100 camera and location. Adjustments can easily be made anytime as needed.
Conclusion:
I hope this detailed walkthrough gave you everything you need to feel confident connecting and setting up your brand-new Tapo C100! Don’t let the process intimidate you – the Tapo app makes it super simple to get hooked up.
Focus first on mounting the camera with a good view of the area you want to monitor. From there, motion detection customizations really optimize this camera’s usefulness for your home’s unique needs.
Let me know in the comments if you have any other questions that come up as you use your Tapo C100! I’m always happy to help out or provide recommendations. And if you found this guide helpful, feel free to share it with anyone else setting up their own smart security camera.
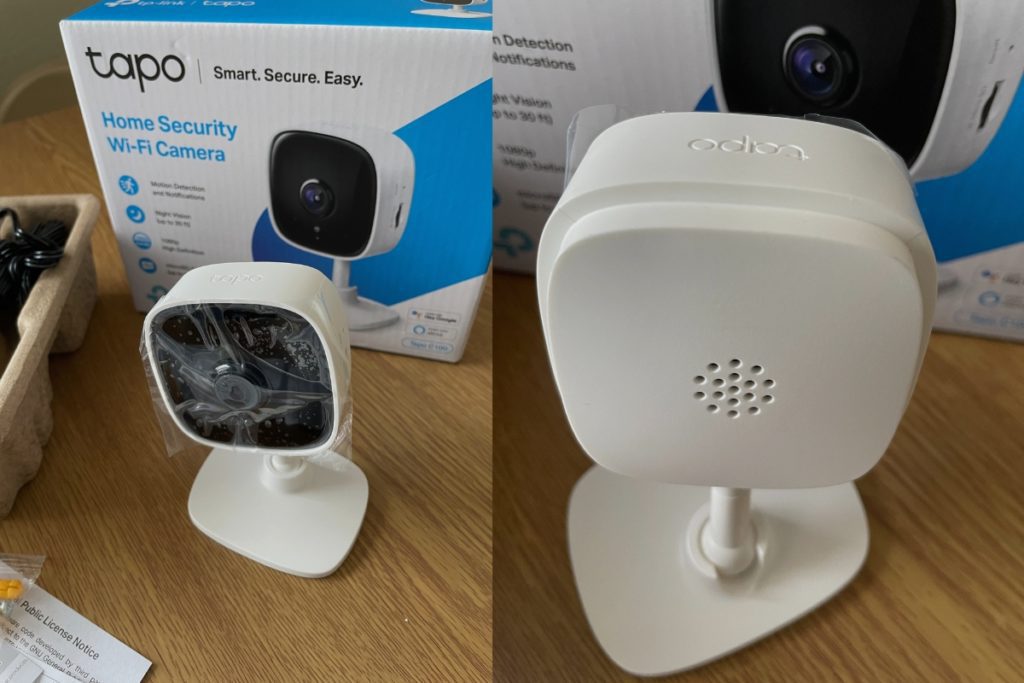
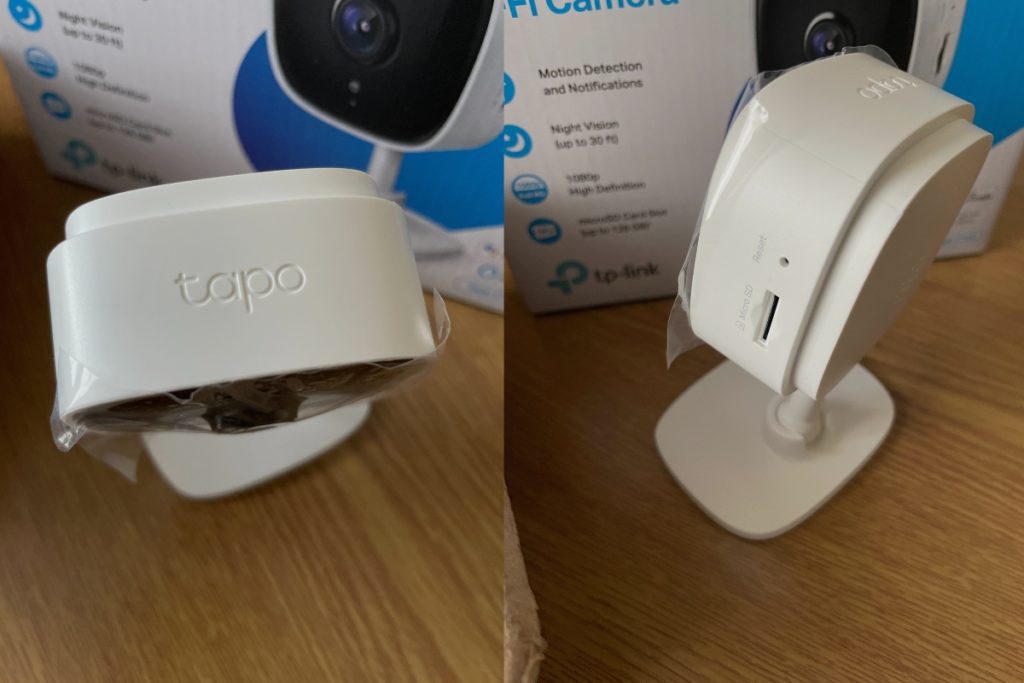
Image Gallery – How Do I Connect My Tapo C100 Home Security Camera?
Useful Links:
References:
- About the TP-Link Tapo.
- About TP-Link Tapo Support.
- About Security Camera.
Related posts: